
My Pocket Loadout (EDC)
29 Aug 2014You Can Tell a Lot about a Man by What He Carries in His Pockets
First let me start by saying that the internet needs more EDC sites/posts about as much as it needs more food blogs and cat pictures. That being said, I am much more interested in this than cats or food, so I will anyway.
EDC is an interwebs acronym standing for Every Day Carry. If you didn’t know that you are about to get either:
A) Very Bored B) Very Excited
If you are in catogory A, leave. (we don’t serve your kind!) If you are more of a catagory B kind of guy (or girl) then you should probably check these out after reading my super exciting blog post.
Epic Backstory (Skip/Skim at Your Leisure)
As a kid, I was always galavanting around my huge backyard with my siblings. We had many adventures, we had epic duels, built a treehouse, and founded a small nation in a tree (amoung other things). To be prepared for whatever I might find myself needing out in the woods, I carried a lot of stuff when we played. No one wanted to go back to the house simply becuase you needed a rubber band or a bit of twine.
Knowing this, my awesome parents bought me a utility belt. Seriously. Like the one batman has. I remember it vividly (although I can’t find it on the interwebs). It was National Geographic brand, and had all kinds of pouches and loops to hold all my gadgets and bits. This gift started a lifelong trend of awesomeness.
Since then I have changed what I carry a lot. The kids utility belt is far to small these days, and my needs (and budget) have changed a lot from when I was eight.
My Pocket Loadout
I had never heard the phrase “EDC” until I started reaserching purchases on the internet (then I saw it everywhere). I always referred to my EDC as my “Pocket Loadout” Loadout meaning “(originally military) The set of objects to be carried into battle; all that one needs for a specific purpose” (yay wiktionary!) It seemed a fitting phrase (and way more romantic than “EDC”, right?)
##Shut up and Tell Me What You Carry Dude!
I never stopped loving that utility belt, but my waistline has gotten bigger. Enter the Grab-it-Pack-it Holster I bought mine off Thinkgeek, because a) Thinkgeek is cool, b) It’s cheaper there.

I freaken love this thing. It can hold all the things. It fits my (cheapo) 7” tablet like it was made for it. Also, that tablet pocket (on the deluxe) is big enough to comfortably fit my tablet and my Nook Simple Touch, which is always nice to have for reading on the go.
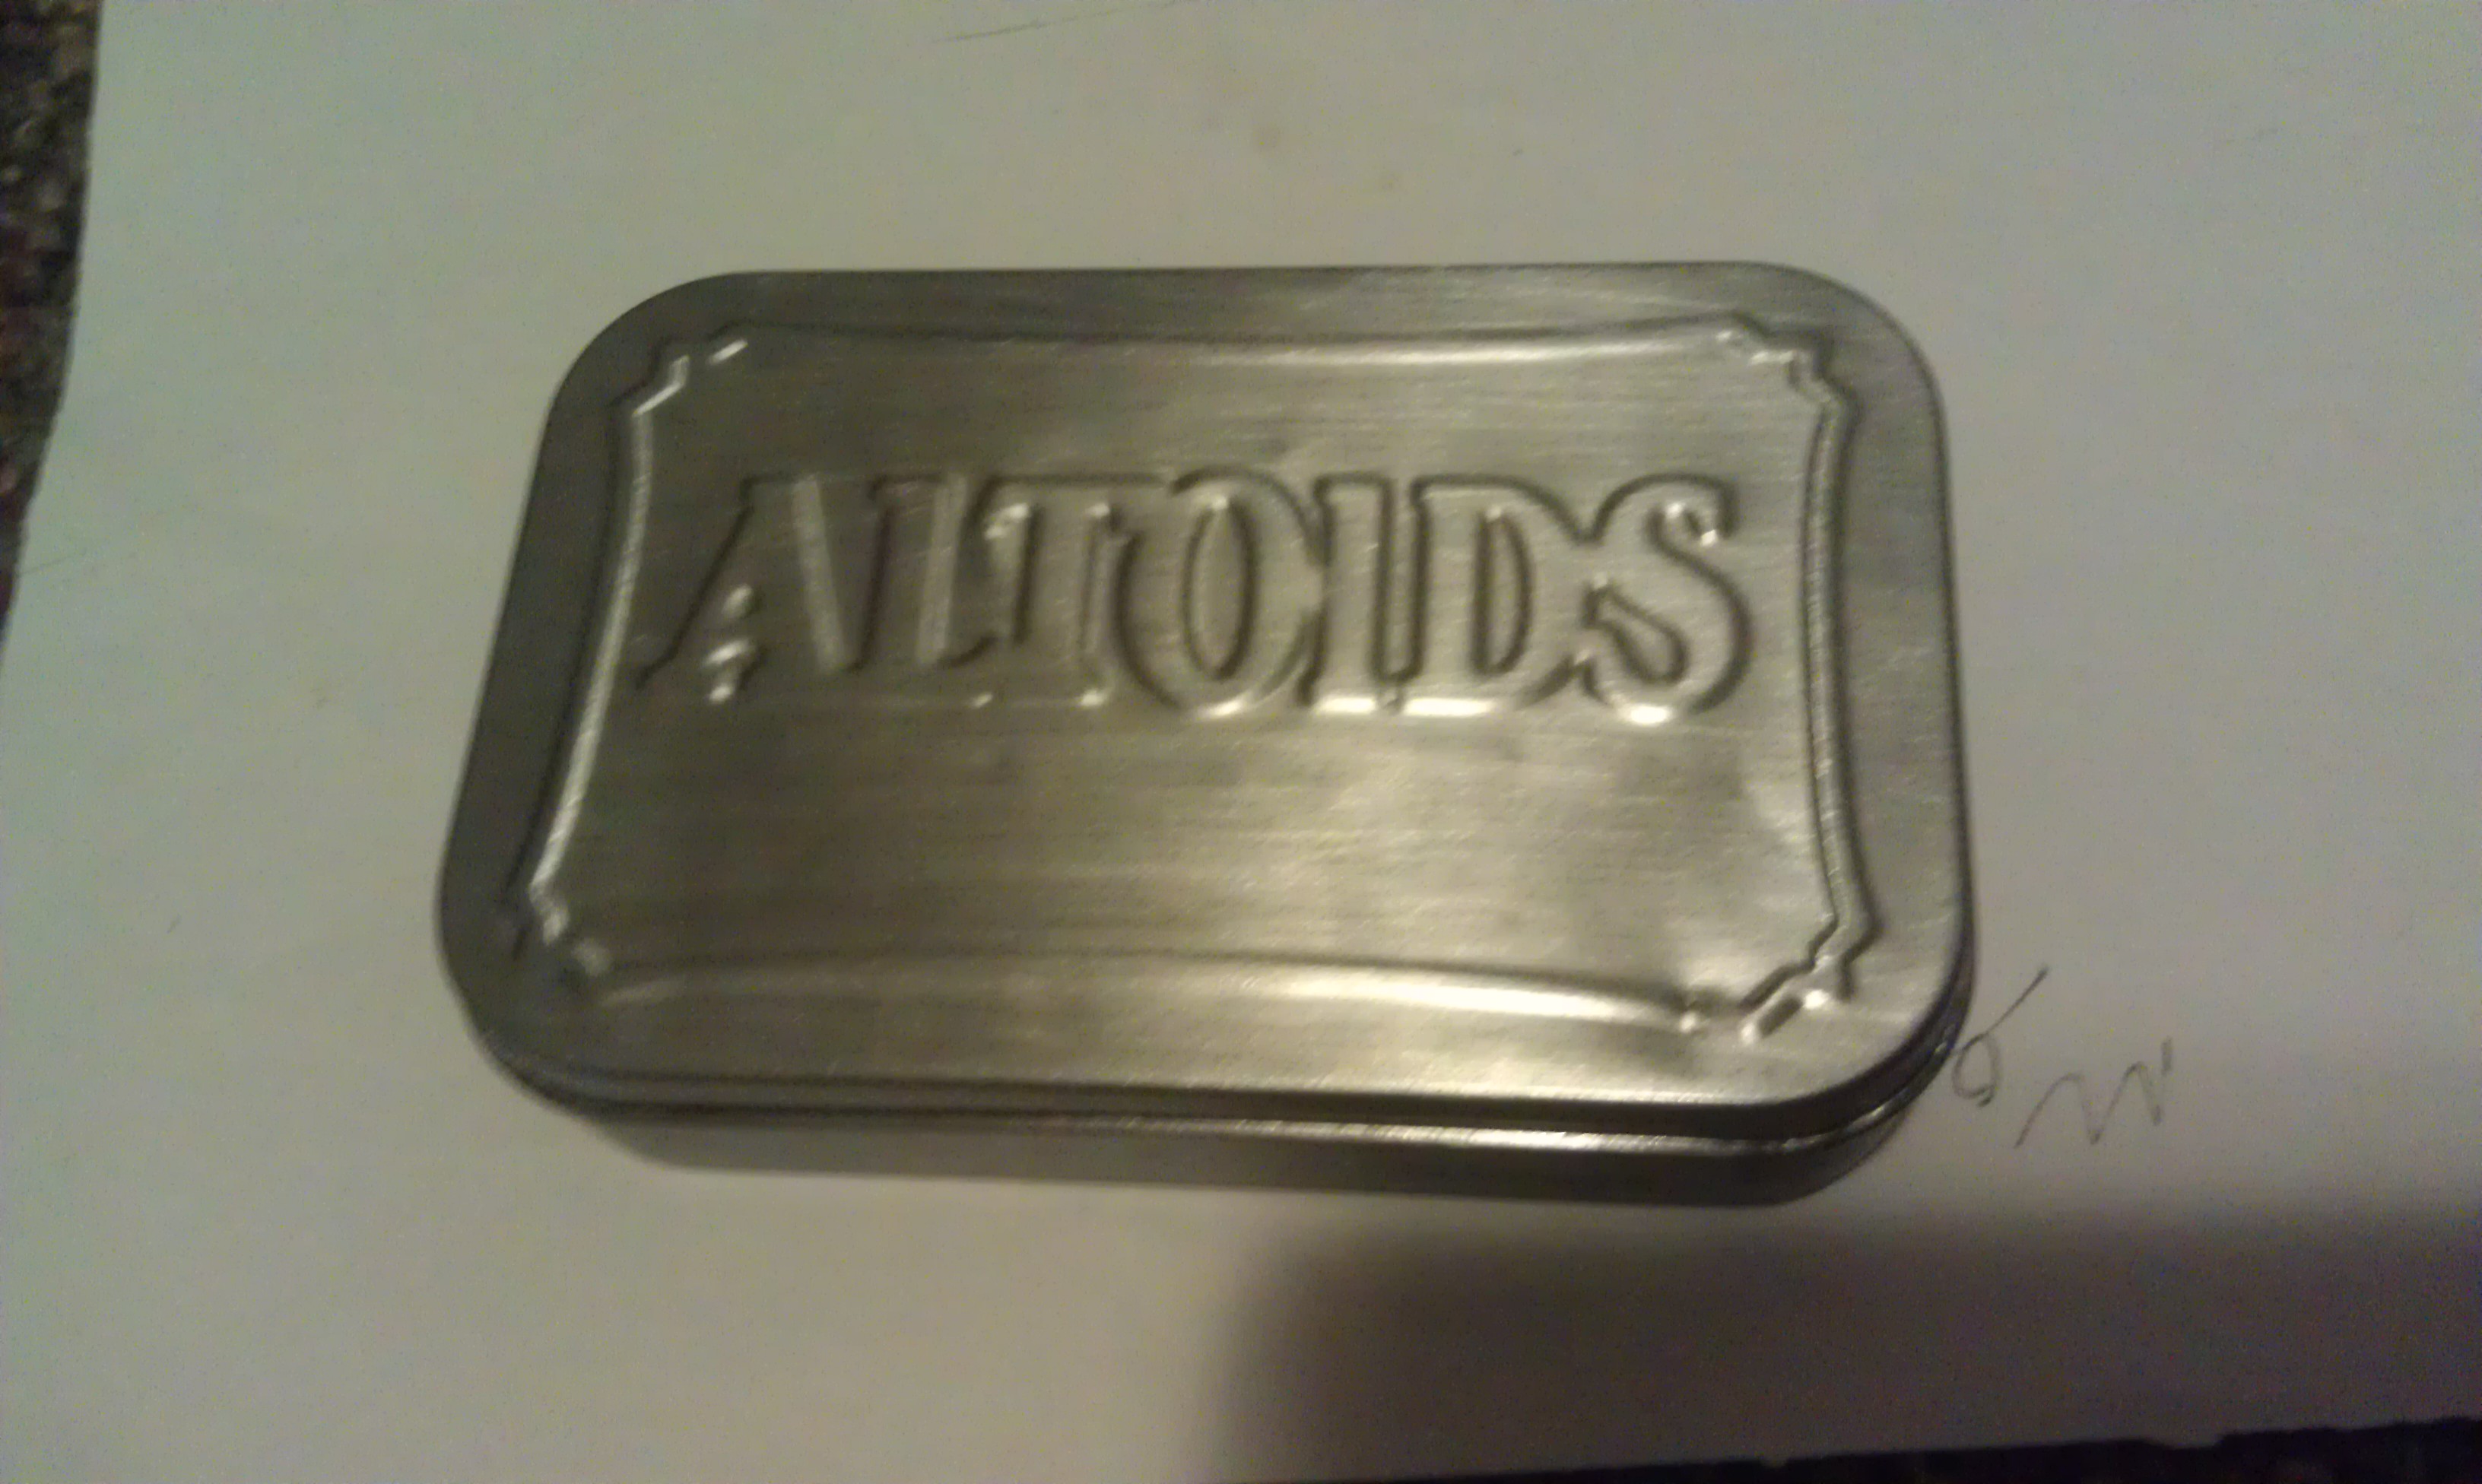
The smaller pocket fits most smartphones, and (more importantly) an Altoids Tin! I normally carry my phone in another pocket anyway. So in that pocket I carry my Altoids Tin, which as some of my readers may have guessed, does not contain Altoids. (More on my fancy Altoids tin in another post)
In the top long skinny pocket I carry a SOG Powerlock

This Multitool has it’s pros and cons. The tools are pretty average and the locking (on my model) is pretty average-lame. Where the SOG Powerlock really shines is the pliers. These are the best pliers on any multitool I have ever used ever. Period. The “Compound Leverage Technology” (read: gears on top) make it easy to do all sorts of things. I can cut through a penny or twelve gauge wire with very little pressure whatsoever. They also have a crimper in the bottom (for blasting caps or whatever). And the plier bits do whatever you would expect in the plier department. Other notable goodies on the tools are the V-cutter, excellent for cutting paracord, twine, zip-ties, ect. and the 1/4 inch drive. It is like having a full socket set! (provided you have the bits to put on.) Buy this one elsewhere (amazon) if you want a good deal.
Lastly for the holster, clipped on the back of the belt so it hangs into my back right jeans pocket, is my trusty knife. Most recently I have been carrying the 
I love this knife, tanto for box/letter opening, Serrations for cutting rope and minor sawing, assisted ofen for rapid one handed opening. Also, wicked sharp. This particular model comes in all styles and colors too! Drop point, with or without serrations, go check the site. All that being said, I would carry a different knife every day of the week if I could afford it!
My latest addition, snuggled up against the Altoids tin is the Fenix E12.
I needed a more practical (and brighter) light than my last favorite. This light had good reviews so I went for it. I like the size and the brightness, I also love having different modes for battery savings. The fact that it can stand on end is cool, and standard batteries (AA) is always a plus. What don’t I like? I am not a fan of the switch. It is a soft rubber switch, reccesed in the base/lanyard attatchment. I would kill to have this with a solid clickyer button. I can’t seem to dissasemble that part either. That being said, it’s not that bad, and much better than my past lights.
##What? There is More?
Well yeah. There is a whole nother pocket on the left side of my jeans!
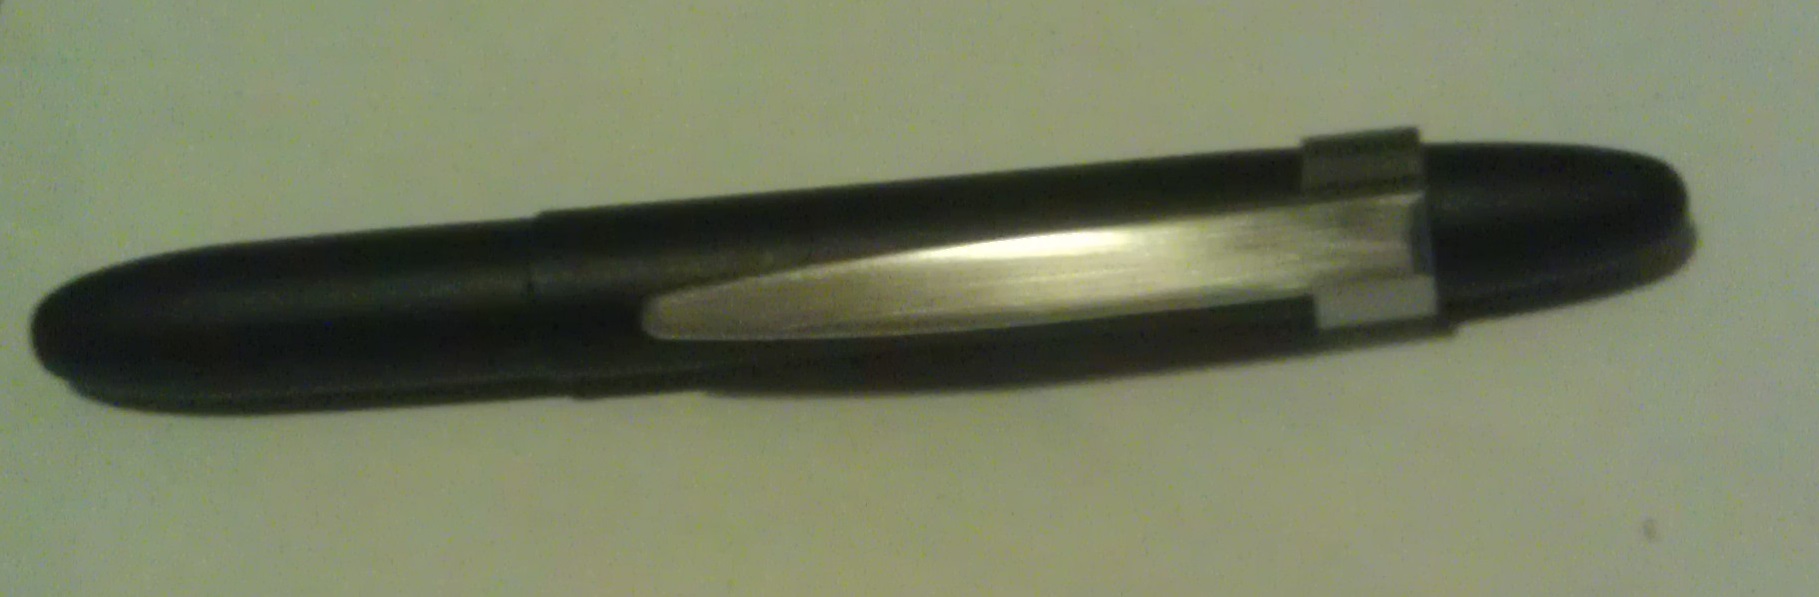
I carry a Fisher bullet style Space Pen, as my EDC pen. I love felt tip pens, but The FSP is more reliable and can write underwater, in oil, at crazy temeratures, wierd angles, and even in Space! Also, this model is very small when collapsed, but full sized when open.

I decided to get it without the clip after reading bad reviews about the one with a clip, but quickly realized that I need a clip on my pens. It is how I like carrying it (clipped on a pocket) and I was worried I would lose it with it slipping and rolling around erveywhere. Seeing as I had no desire to pay ~5$ for the “official” clip, I began to look for an alternative. In my pen/pencil cup I had a silver Pentech Syntech .7mm mechanical pencil. (top one)

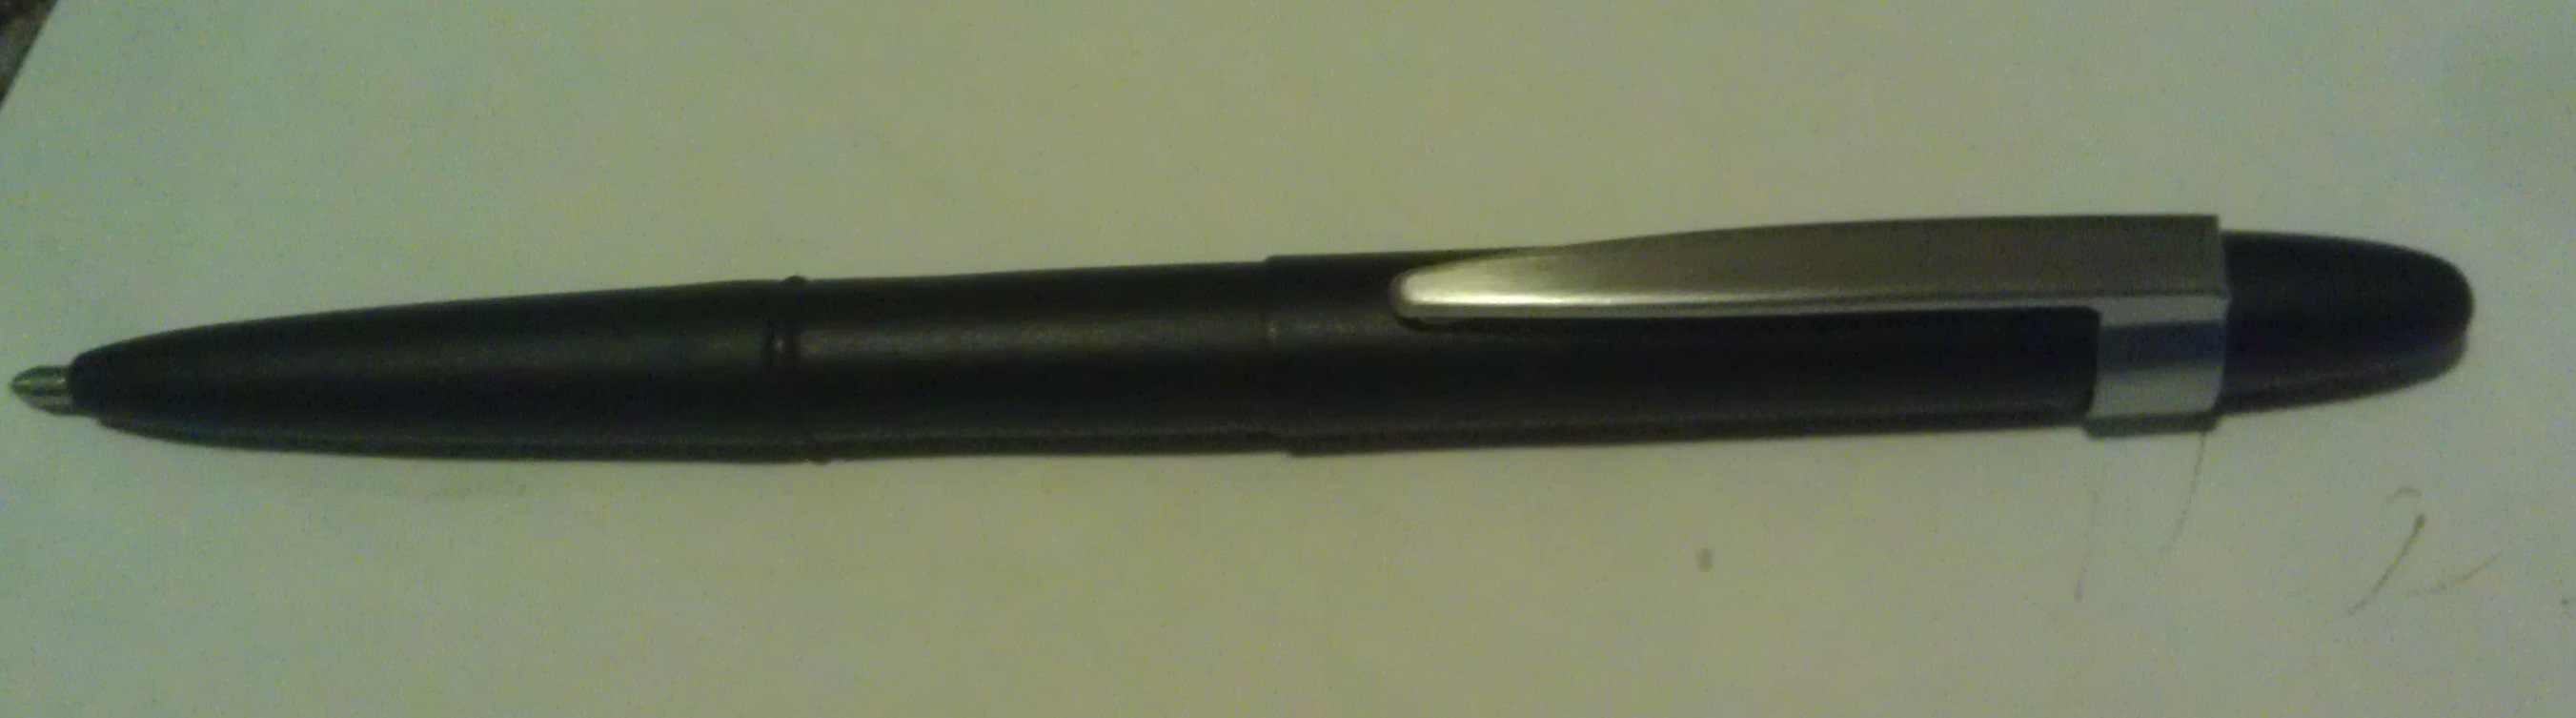
So I pried the clip off and slid it on the FSP. I think I scratched the finish a little (under the clip) but I’m not planning on removing it anytime soon. It seems to be staying on really well with friction alone. I also think it looks more elegant, and less “tactical” than the black clip. (A lot of my EDC looks way to “Tactical”) I used a Dremel attatchment to remove the logo on the clip, and cleaned it up with some fine grit steel wool.

I think the finished product is pretty sexy. Just saying.
I never leave my house without a spork. Seem weird? Well I am. If you haver never used a spork outside of a yogurt shop, you are mising out. Those cheap plastic ones are too shallow for a spoon and not pointy enough for a fork. Goes to show that not all sporks are created equal. I carry this with me always.

Deep enough for soup, but pointy enough for meat or pasta. I absoulutely cannot recomend this highly enough. So choice. Mine is from Thinkgeek, maybe you can find it cheaper elsewhere, I have never checked.
I also carry a boring, non picure worthy cell phone and set of earbuds in that pocket. Moving on!
The back left pocket is home to my Duck Tape wallet. I actually need to make a new (picture worthy) version. I have been carrying it for 5 years, and I love it. I highly recomend you DIY’ers out there try this at home! If you put a layer of Aluminum foil in between the Duck Tape it will even be RFID blocking, so no one can skim your cards. Mine is a simple billfold with a clear ID pocket and a card pocket.
I will continue this mini-series with a followup post about what is in the magical Altoids tin, and maybe a tutorial on how to make an RFID blocking, Duck Tape wallet (If there is interest in that)
Comment it you enjoyed this! I realize it got a bit long, but I carry a lot!