19 Mar 2019
How Does Docker?
Welcome back faithful readers! Been a spell, but I wanted to post something on here. If for nothing else as an exercise to see if I can write this post from Eclipse. If your reading this, I have succeeded. Anywho, on to todays topic! Docker!
Now I shouldn’t be giving explanations, becuase I rarely seem to know what I’m doing. But in a nutshell (weird phrase right?) Docker is a way of deploying “containers” which, as I understand it, are little stripped down VM’s. The nice part about this is you can install, uninstall, and modify software on your machine, without actually effecting the base setup, and with less overhead than a full VM.
Get To the Good Stuff Already!
Okay fine! I’m using Docker mainly for my plex server, and my setup is largely based upon 
Click to view larger
02 Nov 2014
This Is Why We Use Linux.
Recently for kicks and giggles I installed Windows 10. I was pleasantly surprised with a much more desktop oriented system (compared to 8) and a few nice features Windows has been lacking (like multiple desktops).
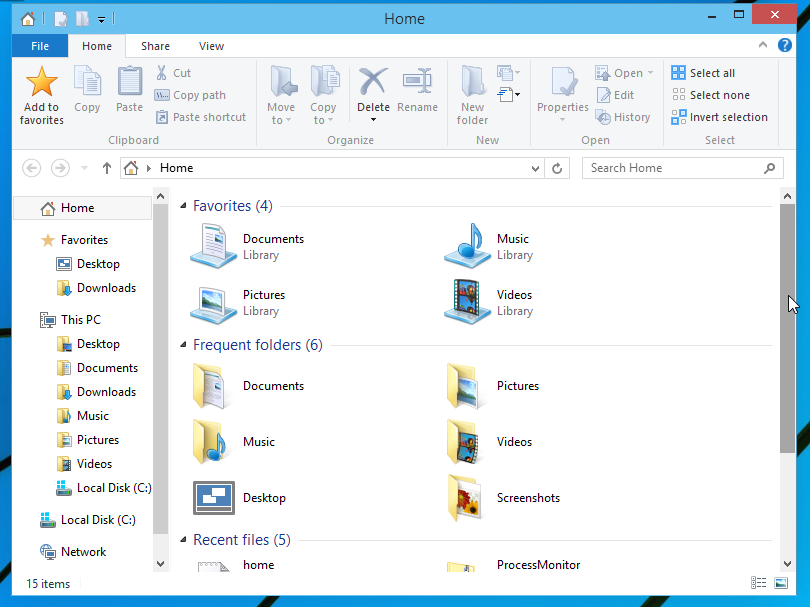
However, since the product was made by Microsoft, there is some weirdness. When you open file explorer it is supposed to take you to the “Home” screen which looks something like this:
But for some reason mine looks like this after the latest update:
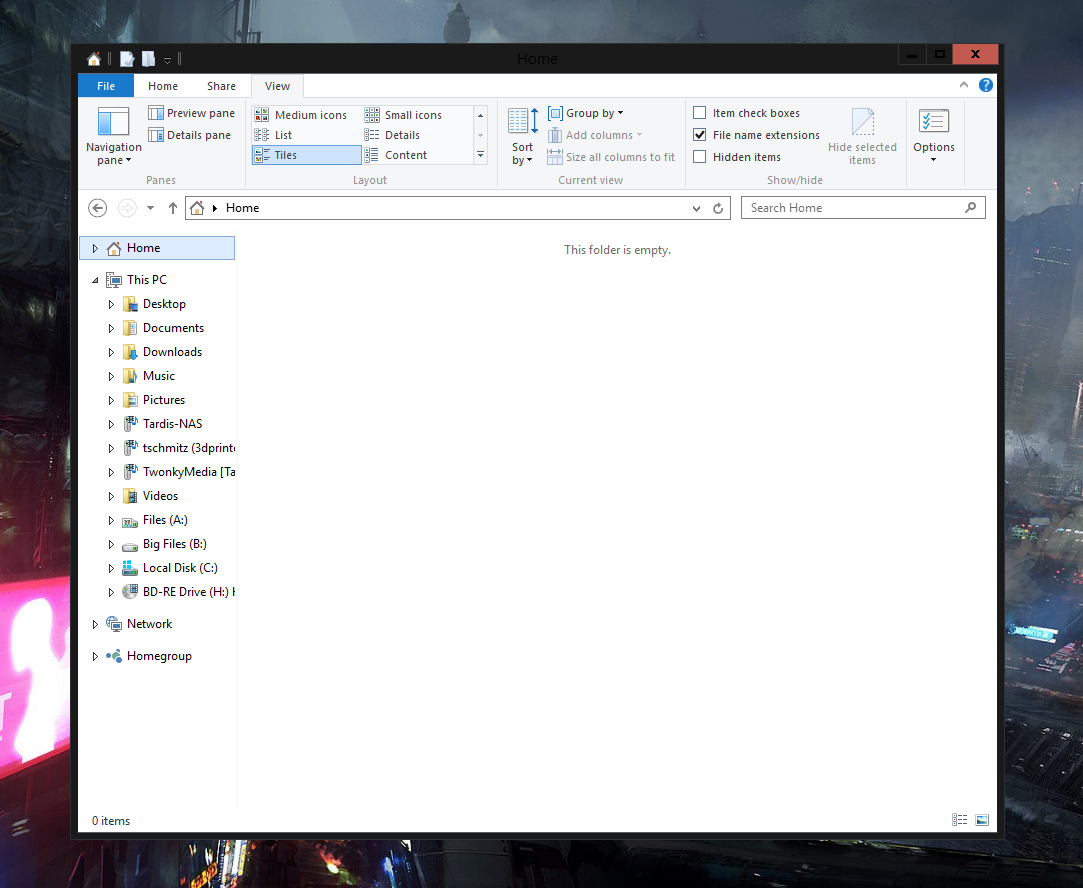
I don’t think I did anything to break it, but broke it is. After messing around in the registry trying to get something (or anything) to show up in my home, I gave up. I never use the “Home” anyway. However it was really annoying having it default to something useless.
##This Is Where Things Get Complicated
So I set out to have it default to “This PC” which is slightly more usefully than my empty “Home”
###NOTE: DO NOT do anything I do past this point if you are worried about messing with things that shouldn’t be messed with. That being said, Windows 10 is in beta anyway, so lets mess with stuff!
I typically launch Explorer from the Start Bar (not to be confused with the screen or Menu) It is always visible, and very convenient. So technically I should just be able to change the shortcut on my bar right?
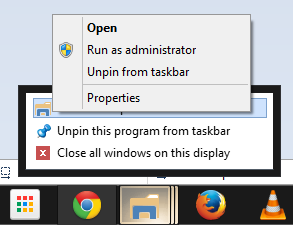
Nope.

For some unfathomable reason, Microsoft has made the box I need unclickable (the Target box)
Well what if I just remove that and make my own that I then re-pin?
I just make a shortcut
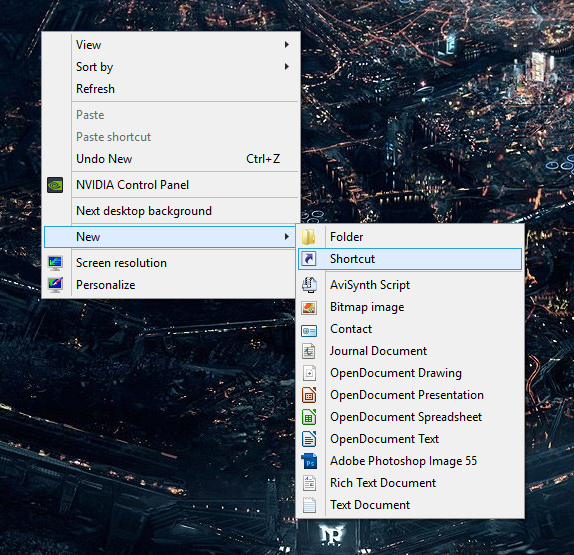
and point it at:
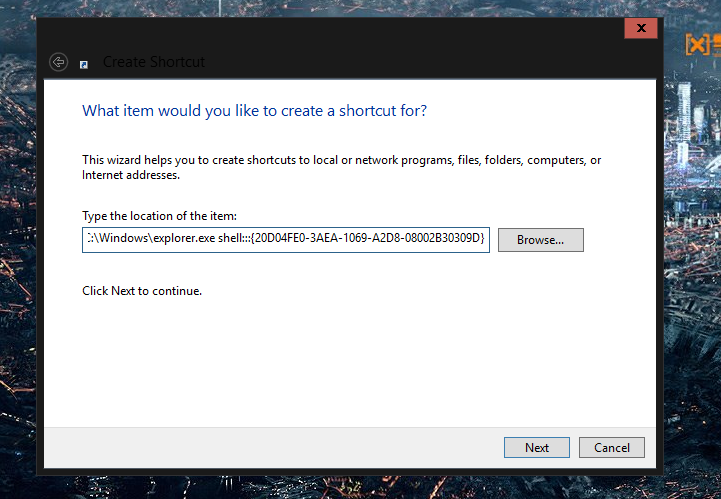
C:\Windows\explorer.exe shell:::{20D04FE0-3AEA-1069-A2D8-08002B30309D}
^That madness is just a fancy way of linking right to “This PC”^
and pin that to my bar!
##Success?
Well. No. For some reason every window you spawn of that link will open up (correctly) bot they won’t do that usefully stack thing. Instead, it opens up next to all you pinned apps, and any other windows opened (from that icon) will obviously take you “Home”
##This Is Where Things Get Really Complicated
I went back and looked at the properties of the original shortcut a little better and you can see (I can’t show pictures of this bit because I already messed with it) that the shortcut doesn’t just link to Explorer.exe (as one would assume) but rather to:
C:\Users\Noah\AppData\Roaming\Microsoft\Windows\Start Menu\Programs\System Tools\File Explorer.lnk
A link that links to a copy of itself? um. wat? Upon deleting that link it seems to instead link to another copy here:
C:\Users\Noah\AppData\Roaming\Microsoft\Internet Explorer\Quick Launch\User Pinned\StartMenu\File Explorer.lnk
At this point I really don’t understand what black magic is happening, but I intend to purge it from my system.
So I deleted both of those two .lnk files (the .lnk may not show, but that’s what they are) and I replaced the one in:
C:\Users\Noah\AppData\Roaming\Microsoft\Windows\Start Menu\Programs\System Tools\
With my own “File Explorer.lnk” (that shortcut I made before). I can now pin that to my bar and everything seems to be working (as of writing this)
Comments, Questions, or Criticisms? Put it in the comments.
21 Sep 2014
Good thing I got the Leather Working Merit Badge!
###Except not, because that taught me nothing other than how to use stamps…
I have worn leather belts before. I have also wrapped strips of leather around handles to make them look cooler. None of this really prepared me for my latest project. Fortunately it really is pretty simple.
##Epic Back Story Time!
Recently I read this article on TheArtofManliness:
The Manly Tradition of the Pocket Notebook (love that site, go check it out)
Normally I would be kinda, meh. However, in a few short months I will be setting out for the strange land of Piracicaba, Brazil. While there on my LDS Mission, I will no longer be able to carry a phone, tablet, and e-reader at all times. So I decided now would be a good time to become aquanted with the ancient art of “paper”
I bought a bunch of Black Field Notes, and I think they fit the bill. However, I know my back pocket will destroy them (if my wallet is anything to go by).

##An Answer Presents Itself
Buckle up, this ones gonna get long.
Originally I was thinking of something like this
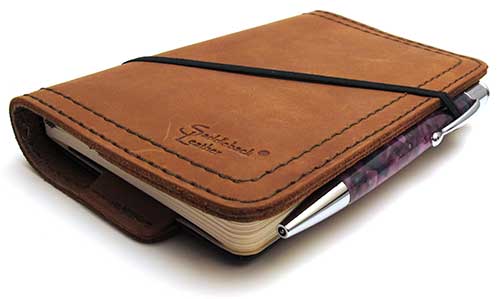
And that would be awesome. Just one problem, I bought Field Notes, Not a Moleskine So I wouldn’t be able to use the cool elastic thing.
No big deal Field Notes themselves sell a few leather covers designed specifically for Field Notes! Wait. They are 85$. Forget it! That is even more than SaddleBack, which is always expensive.
There are a variety of cheap ones on Etsy and the like, but we are looking at at least 40$ and very few are exactly what I want.
###Noah, Why Did You Bother to Show Me all of That?
Well, don’t you see? These are all expensive, or not perfect. There is but one obvious solution! I need to make one myself! (cheaply and in my own idiom)
###But Noah, that sounds hard!
Get of my site. Now.
##Yay For DIY Nonsense!
I decided what I wanted was a leather cover that would hold one book and stay closed without obstructing the cool inside of the Field Notes Covers (they have contact info and a ruler and stuff!) Also a bookmark.
##Mark 0
After some quick sketching I made a (really lame) paper prototype
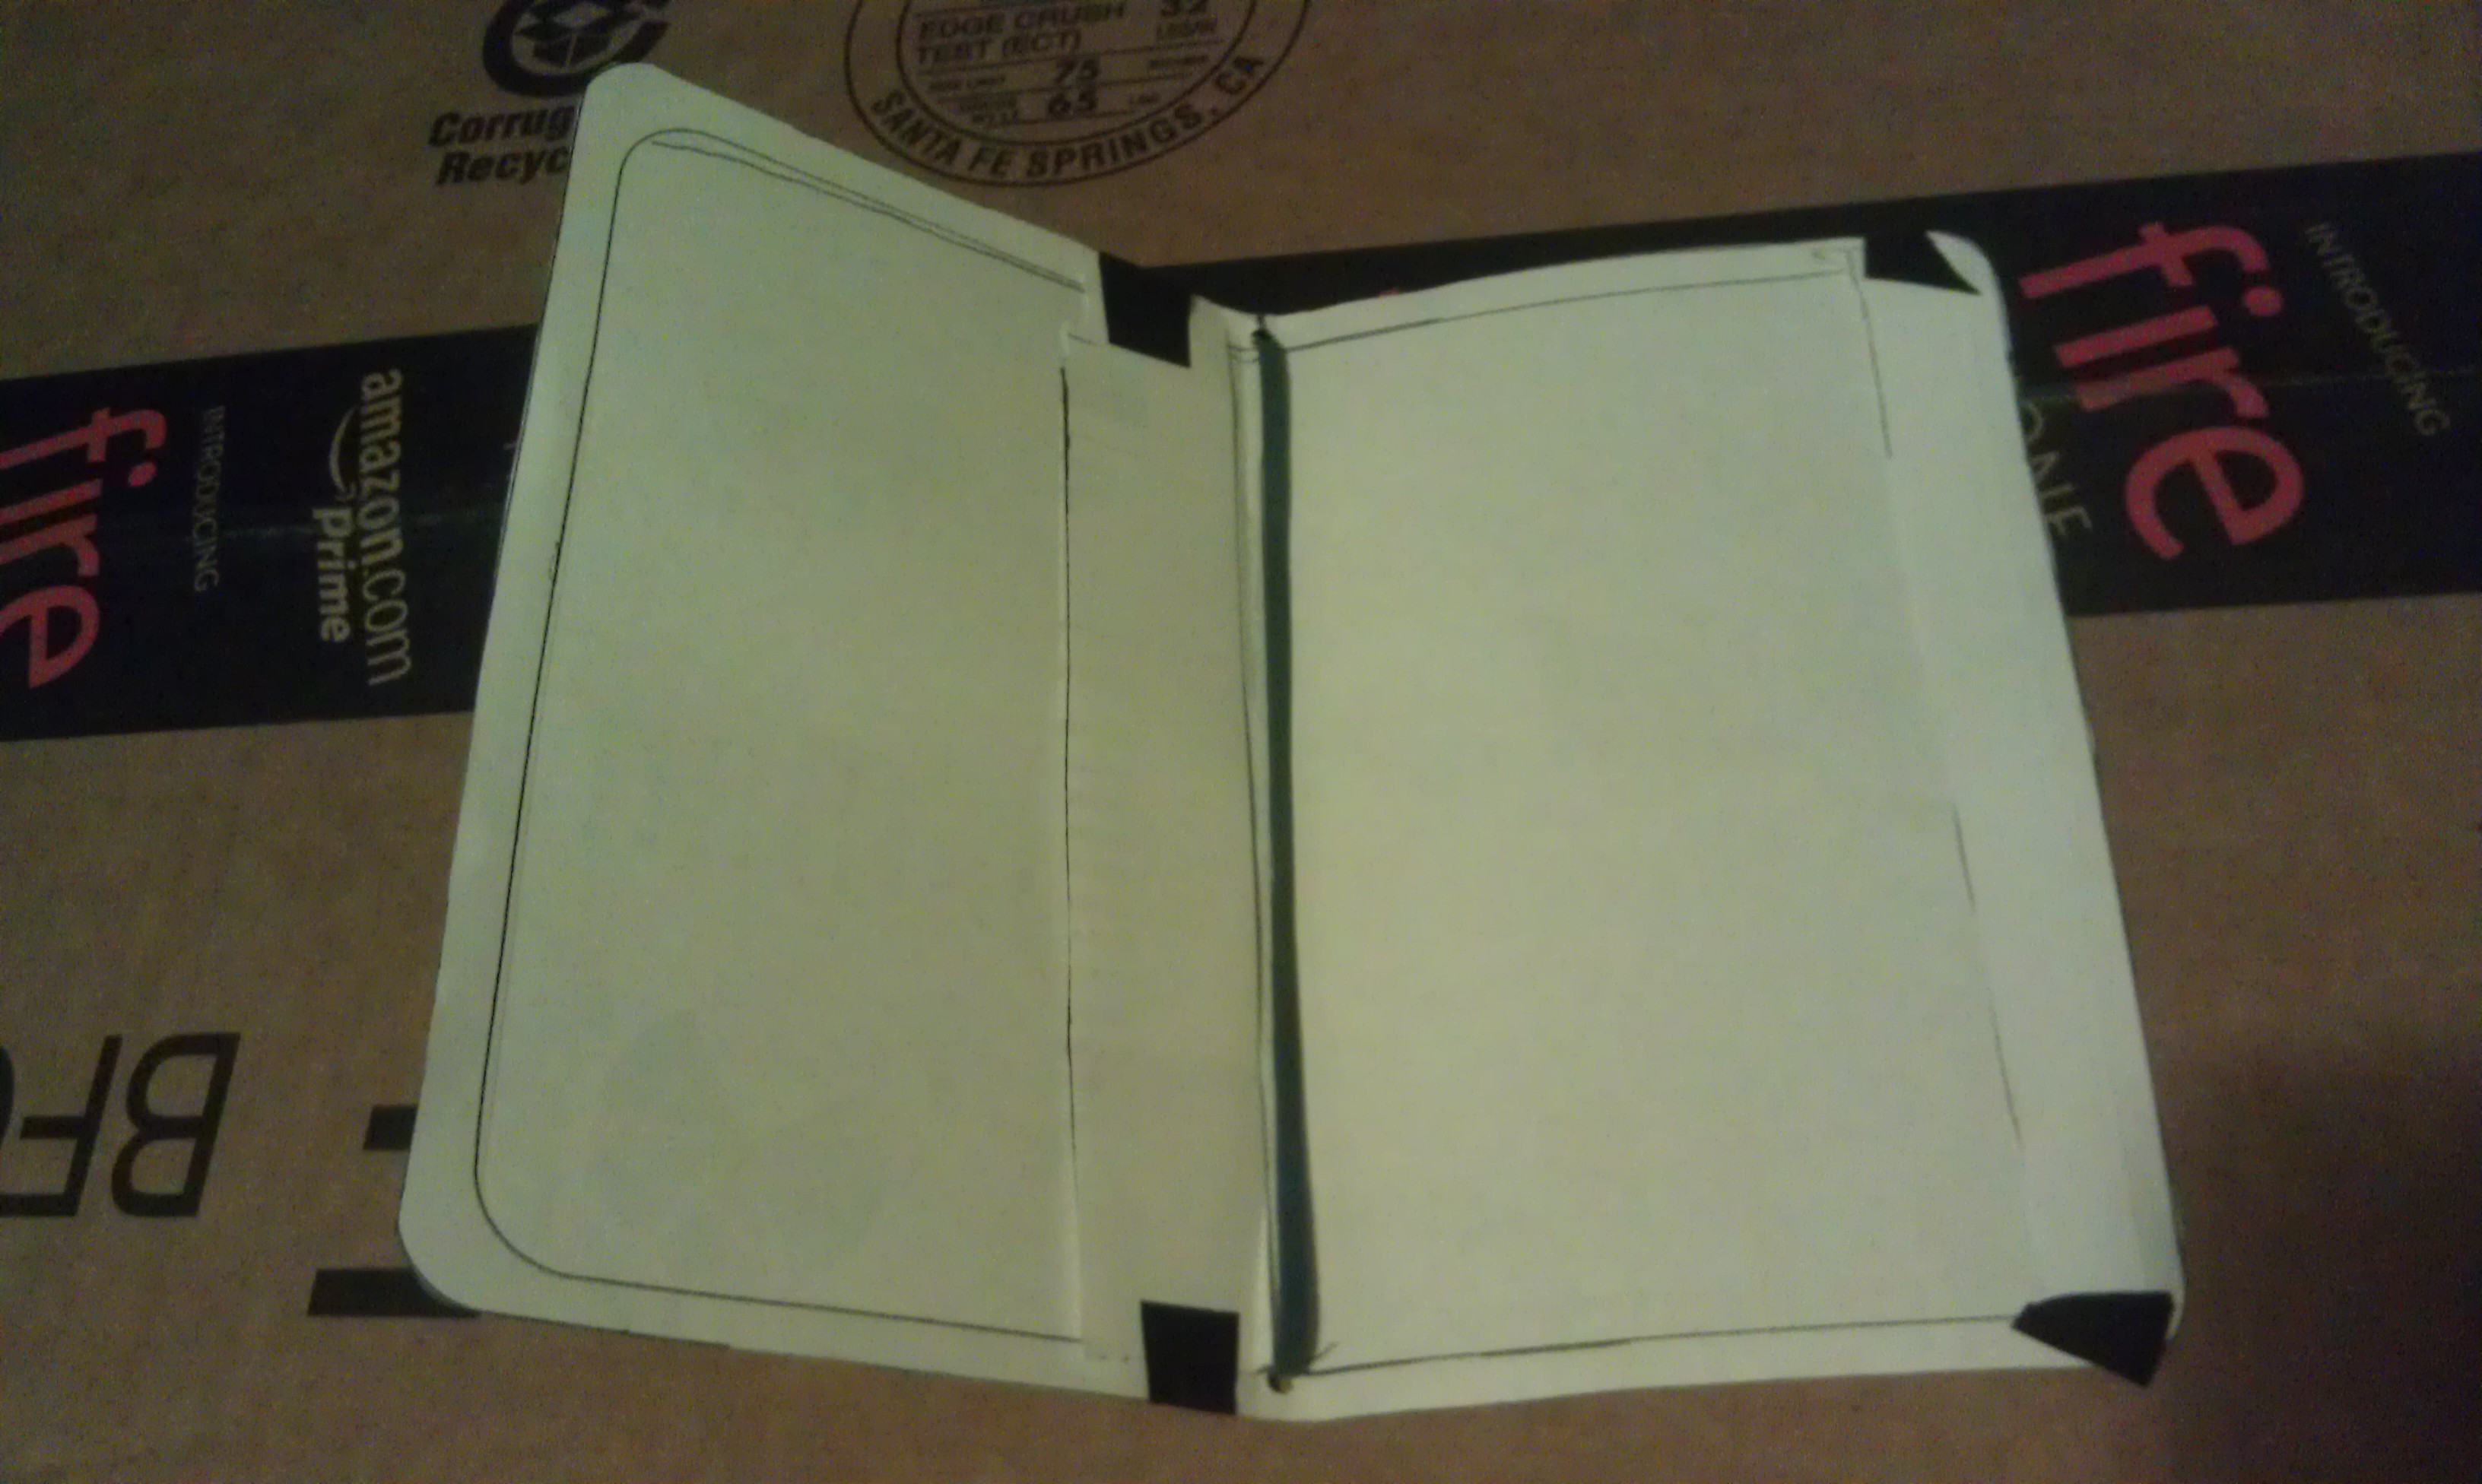
I always start with paper. I figured out the approximate size and that the easiest way to hold the notebook would be with a cord running down the inside spine like a Midori Travelers notebook. Sturdy, but easy to replace.
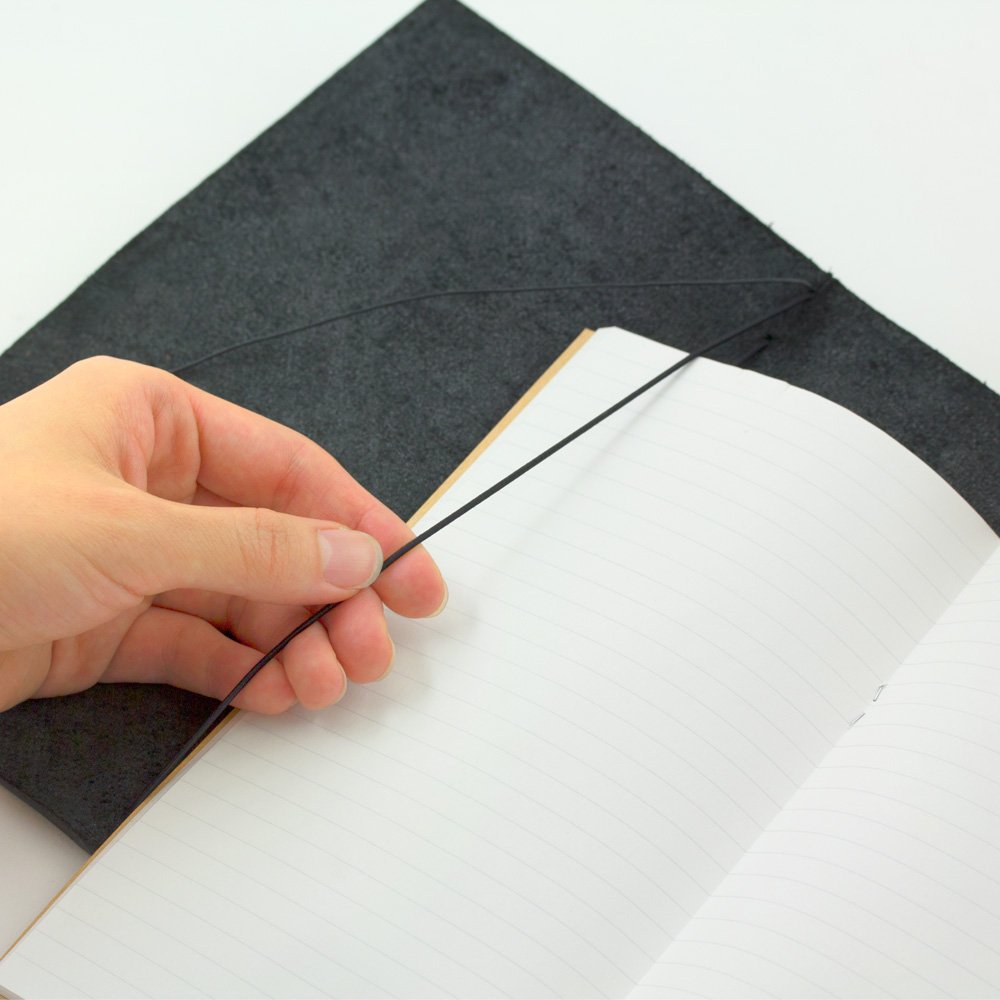
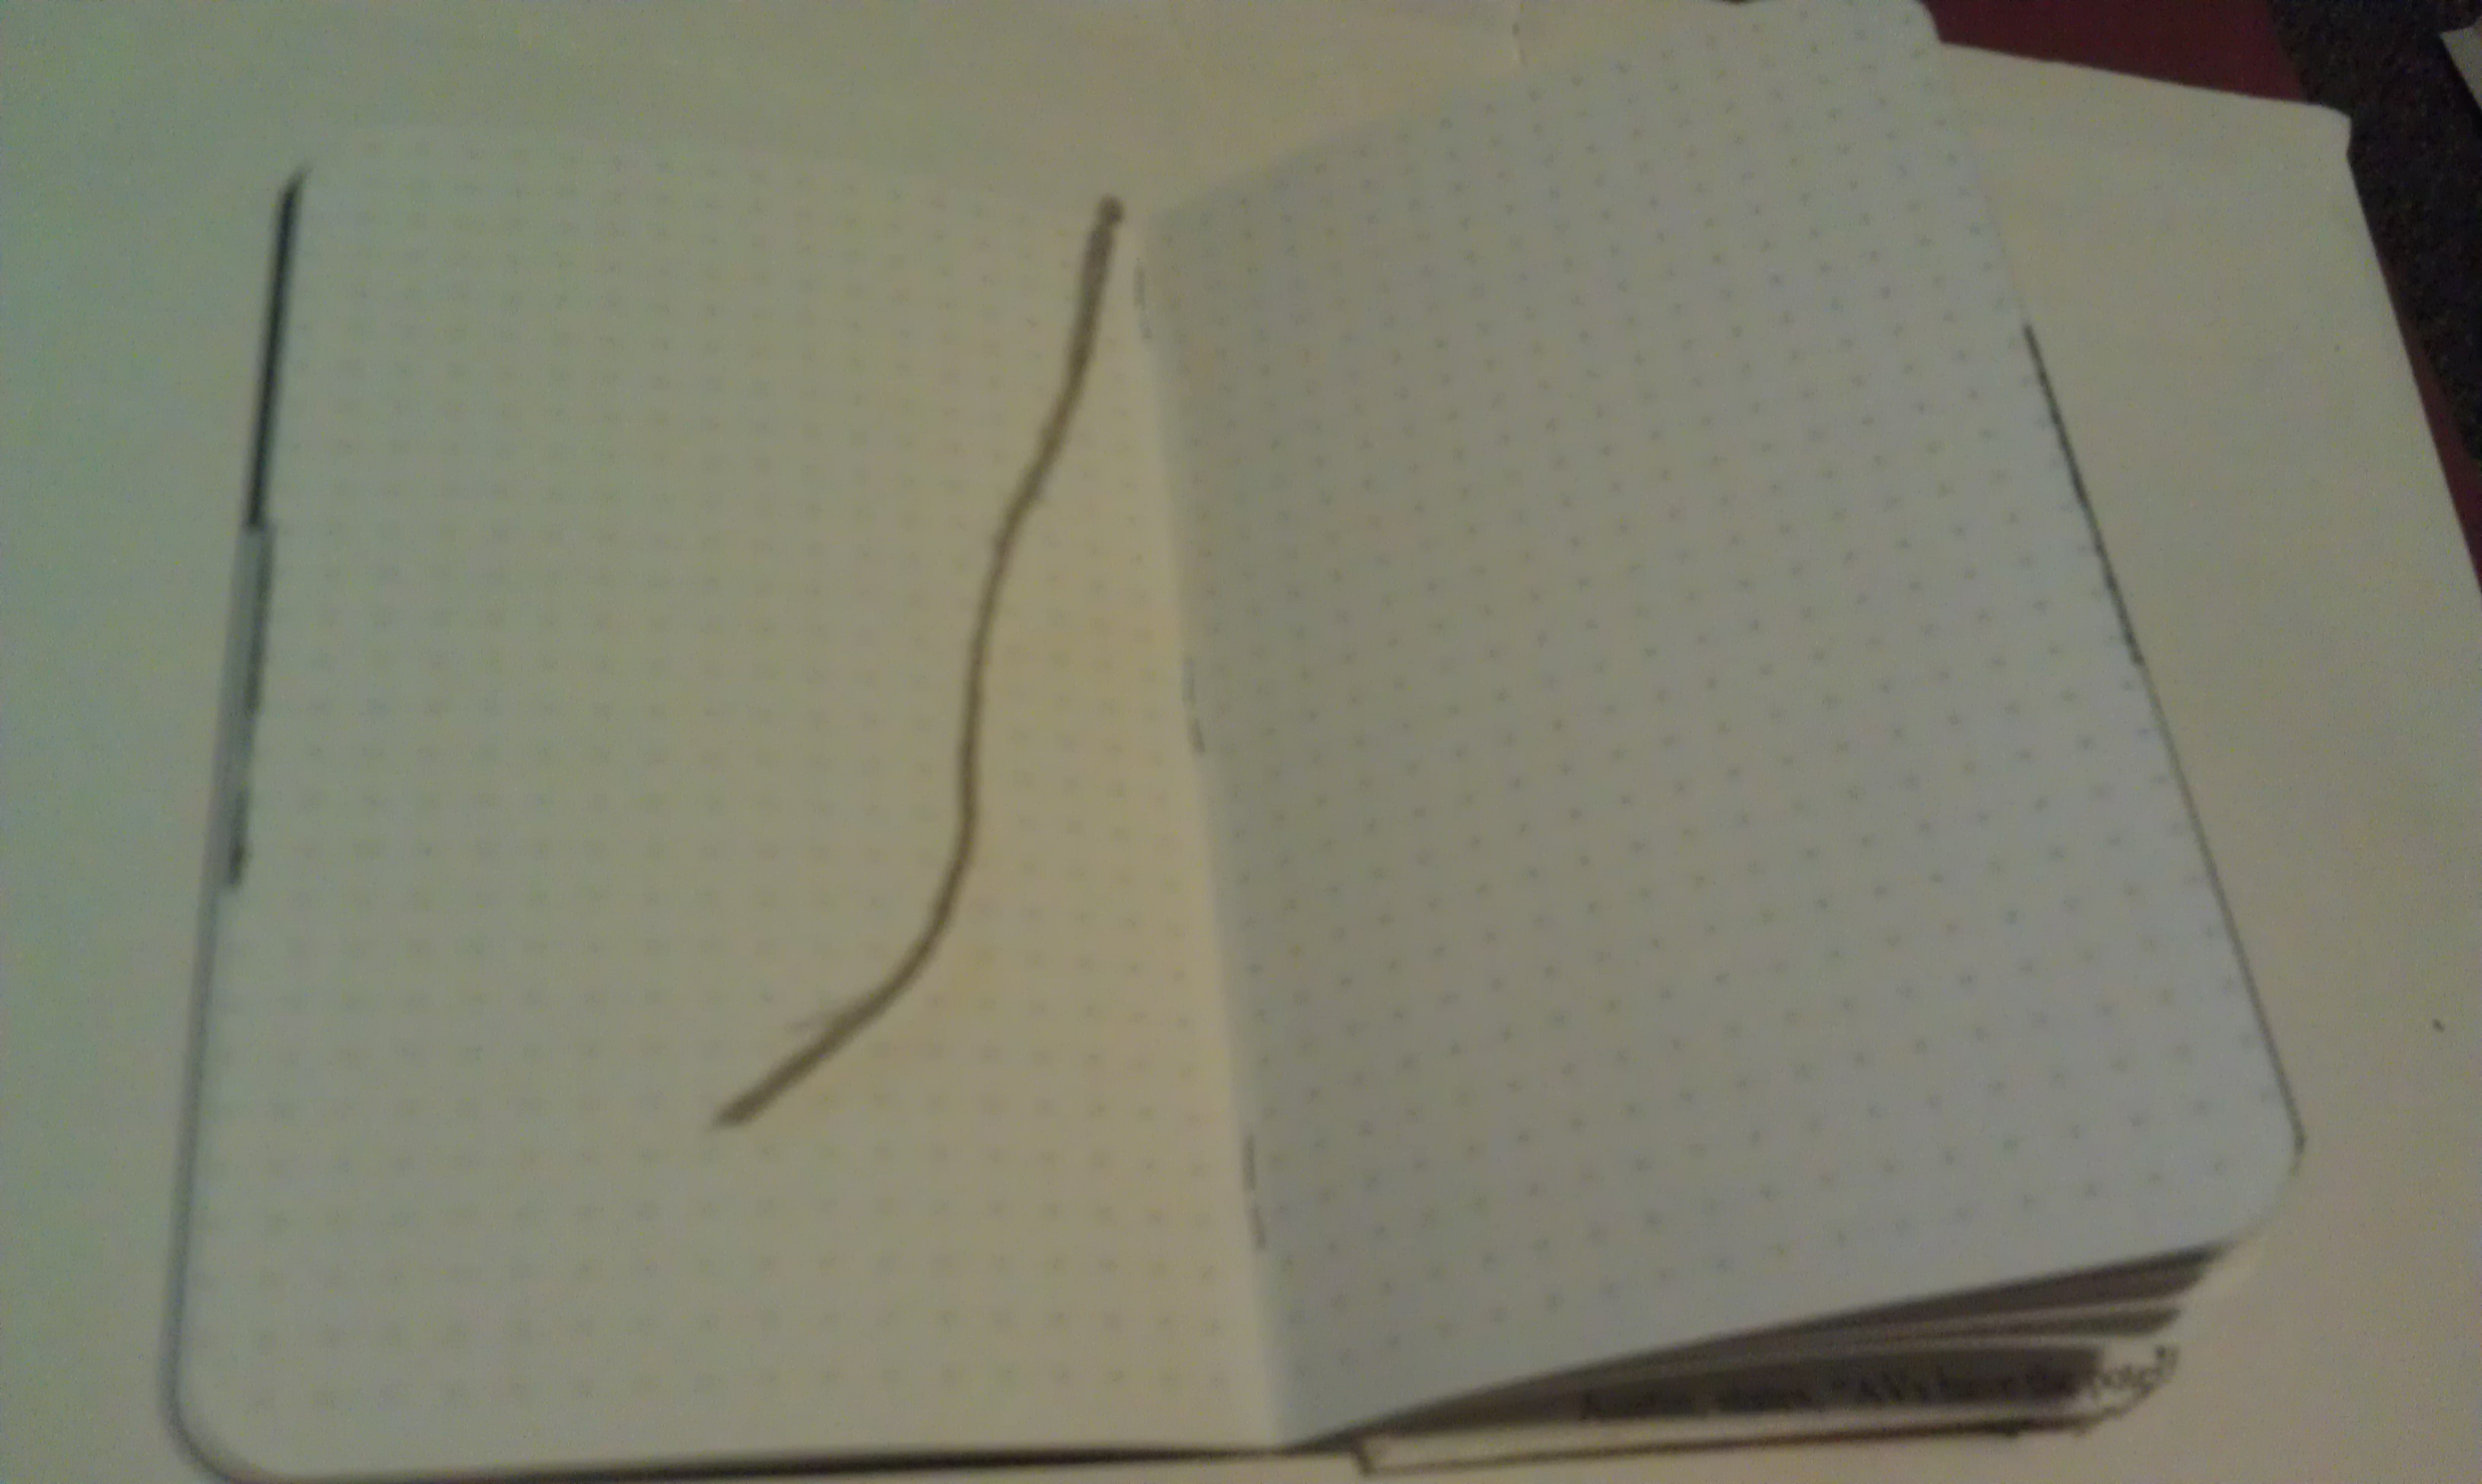
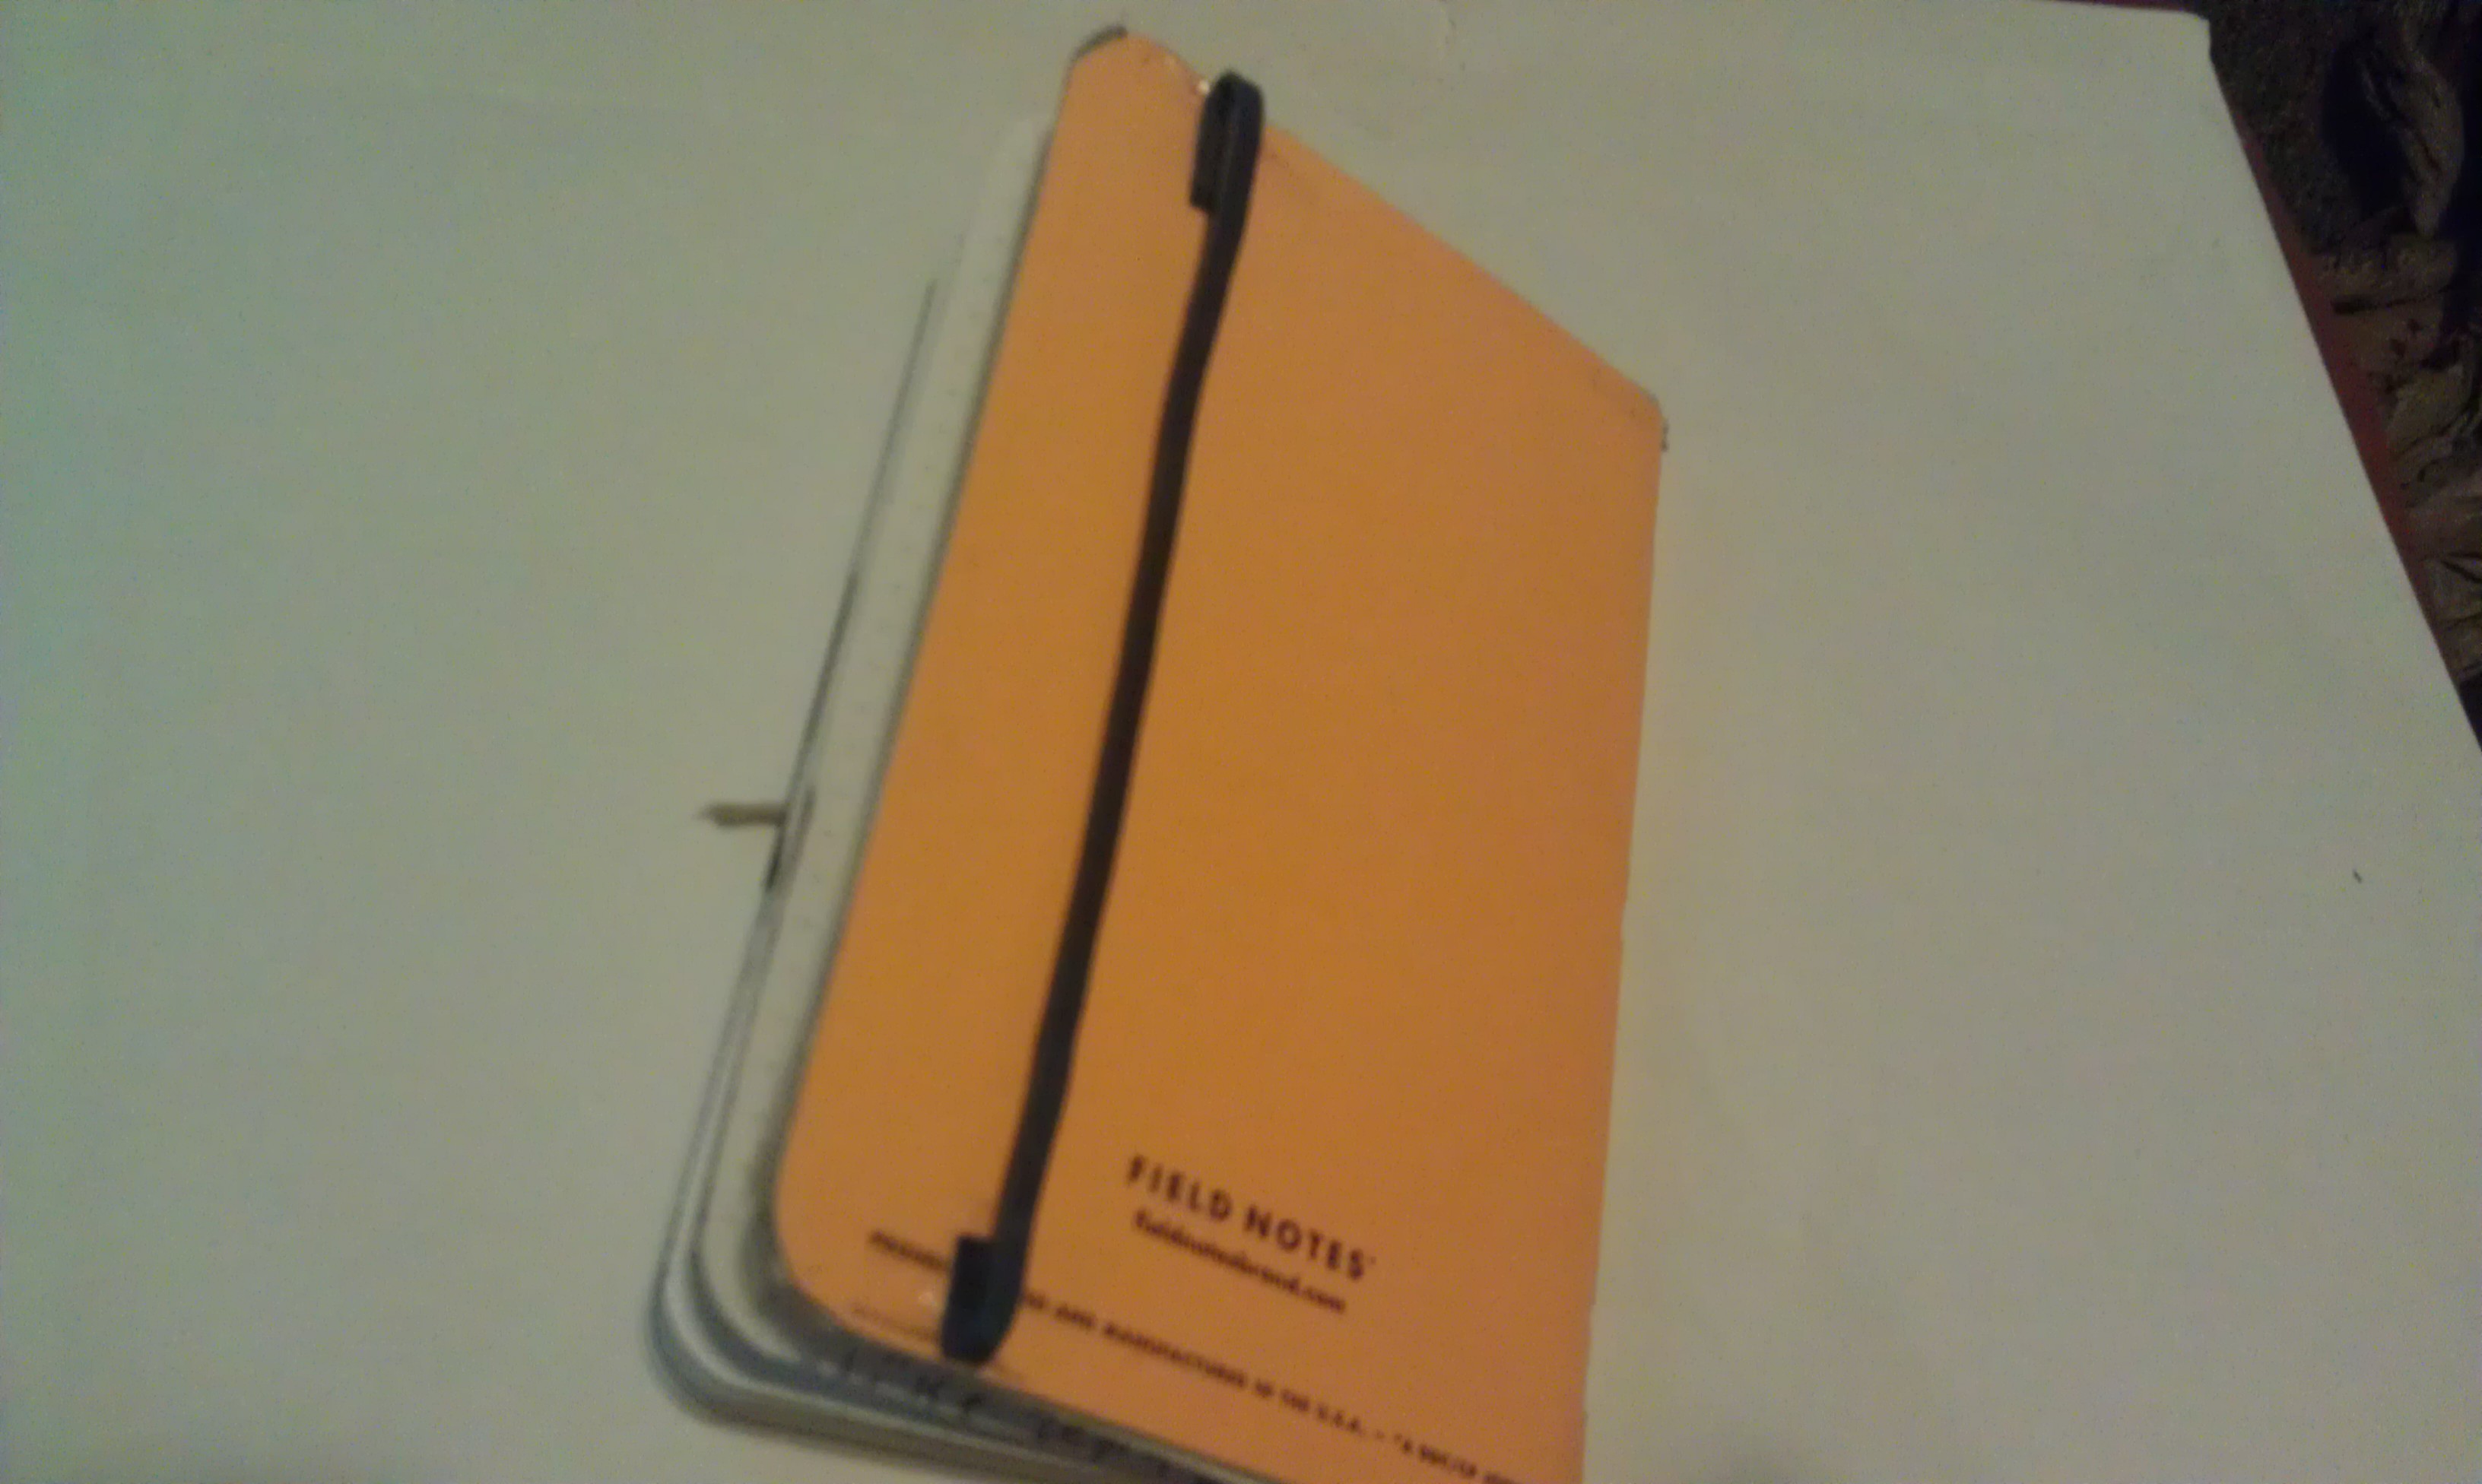
##Mark 1
Having Determined this, I still needed a way to keep it closed, and a fancy bookmark. So I experimented with a spare (hideous) Field Notes I had lying around.
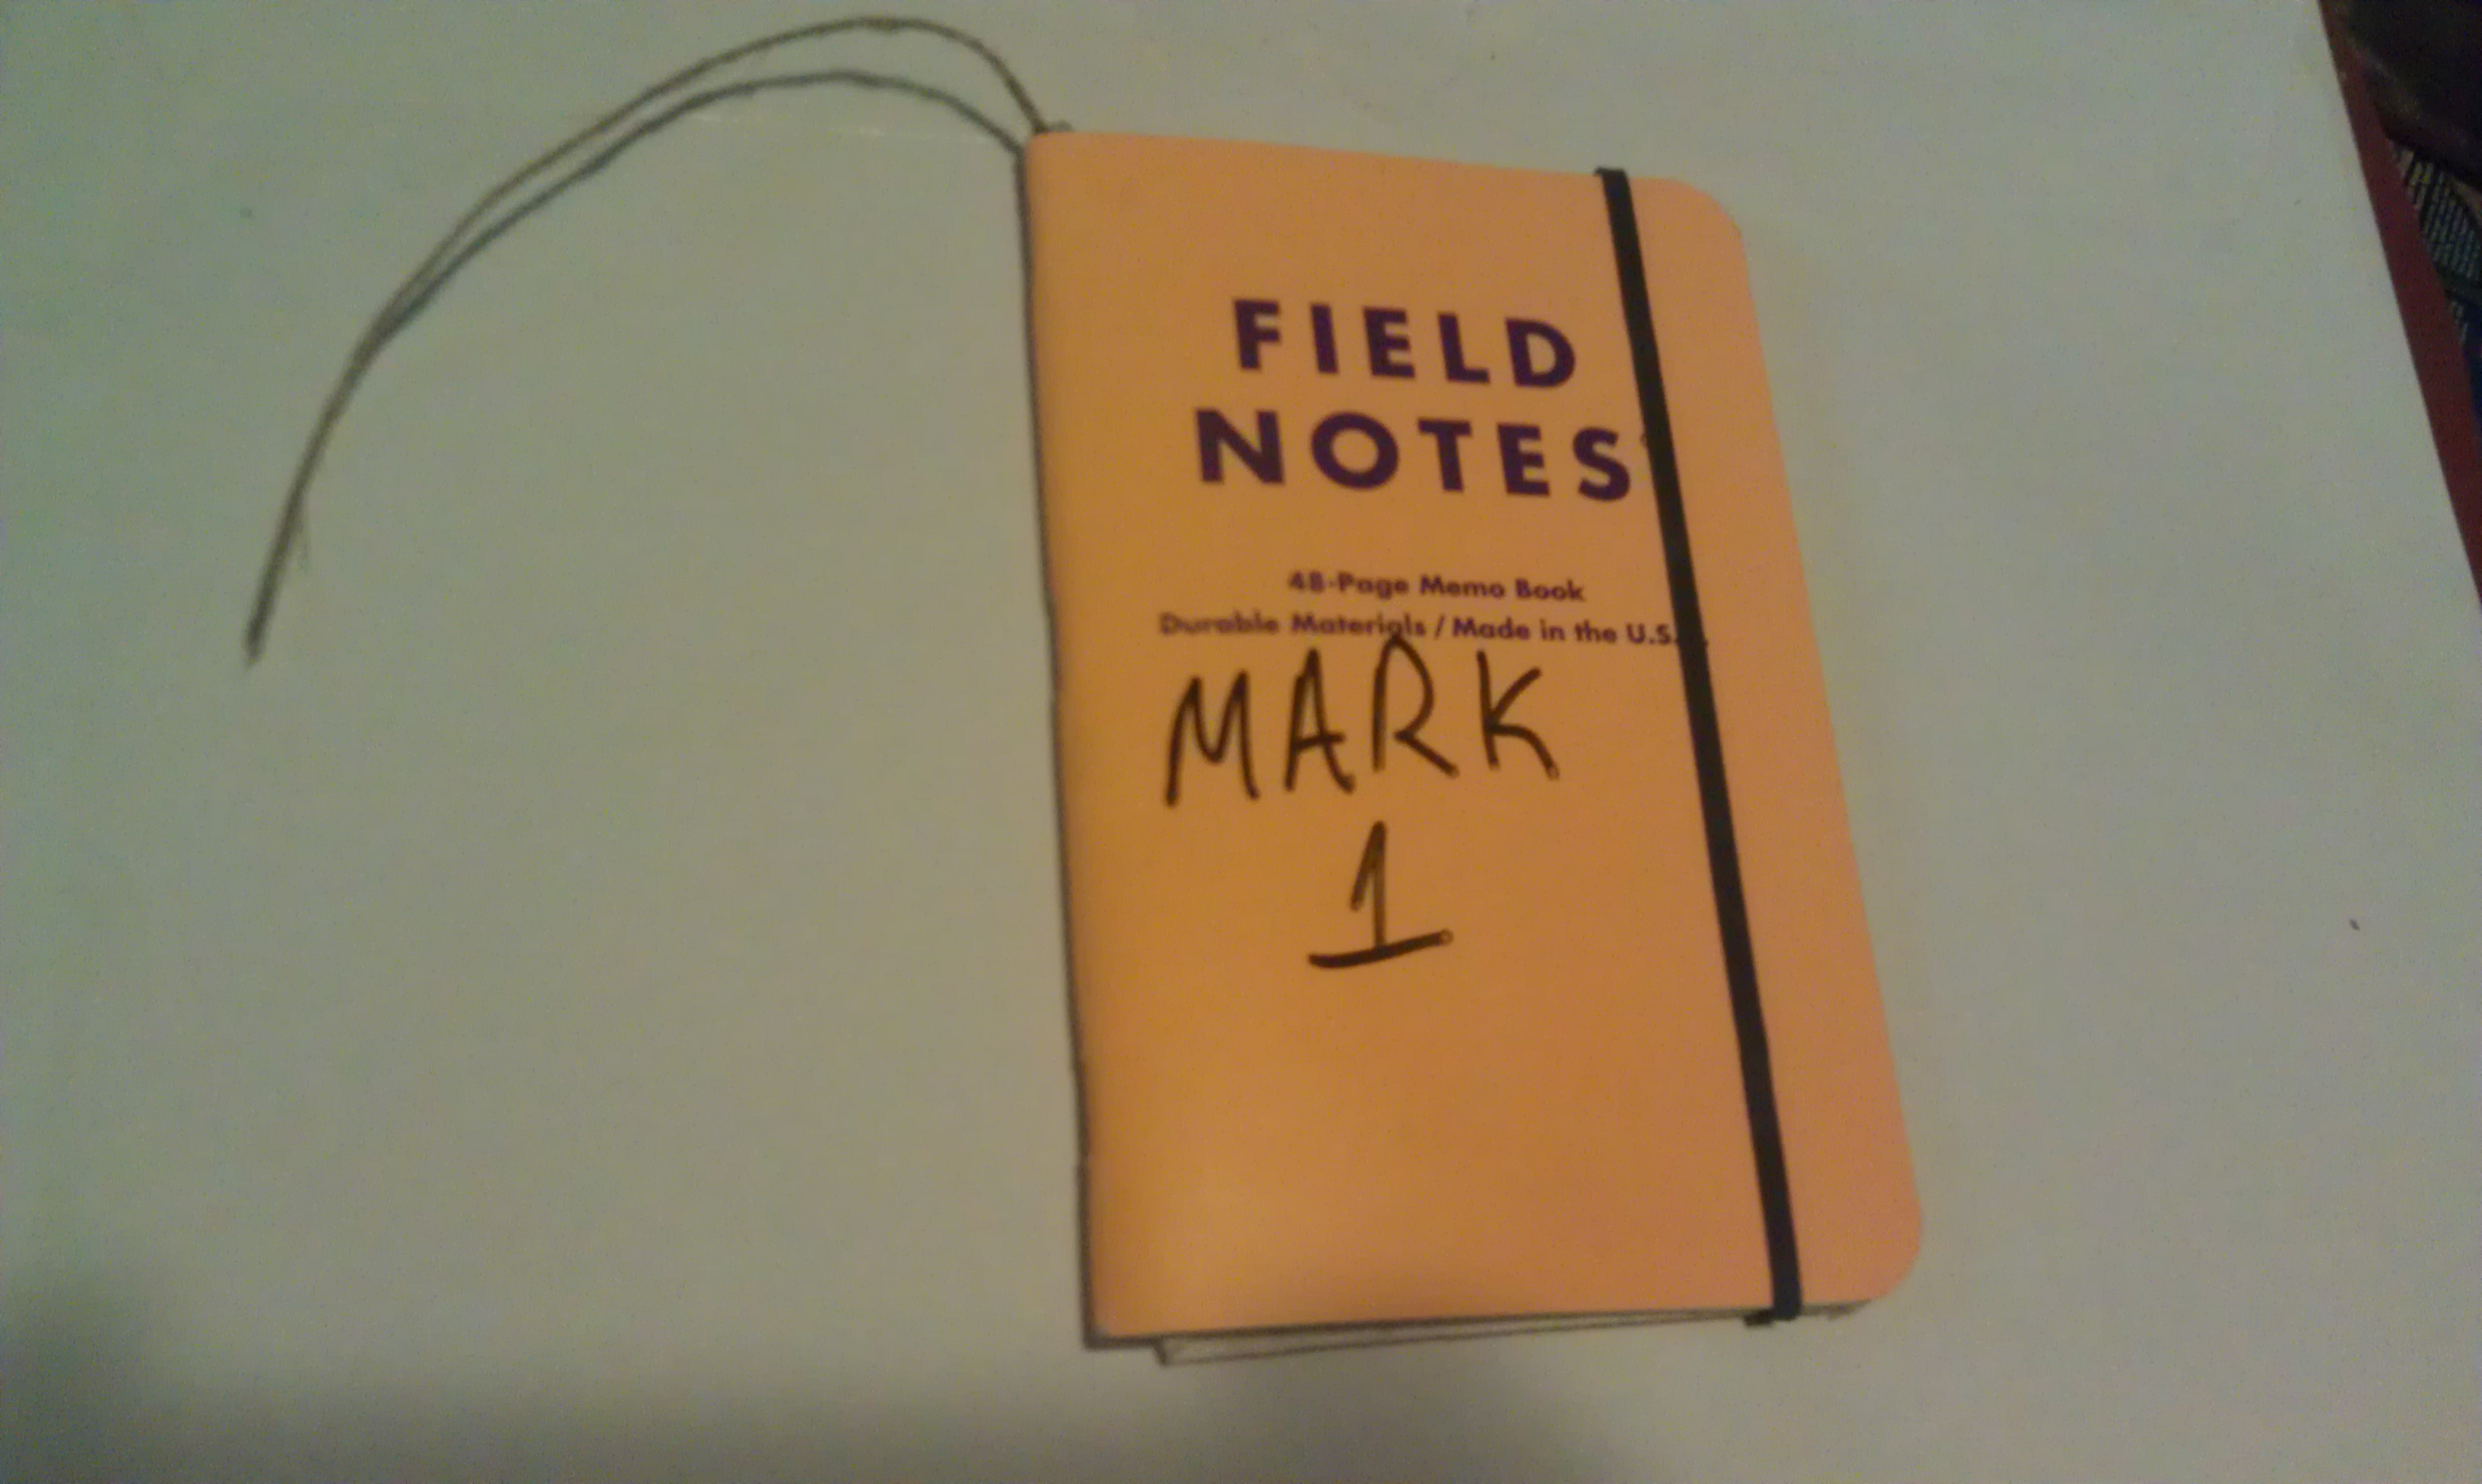
I like the elastic closing (blatantly stolen from Moleskines) and the idea of some sort of twine bookmark. Ribbon bookmarks just end up fraying and creasing and stuff.
I also experimented with a Moleskine Style pocket in the back (not that you can see that in the pictures).
##Mark 2
###This Times For Realsys
Firstly let’s talk about leather. It comes in many thicknesses which is traditionally measured in ounces for some odd reason. I don’t have time for that madness, so this came in handy.

I used a piece of 2-3oz leather for a balance between thin and stiff.
At some point in this process I stumbled across this (long) YouTube Video, which is similar to what I want.
You can watch the whole thing, or just keep reading.
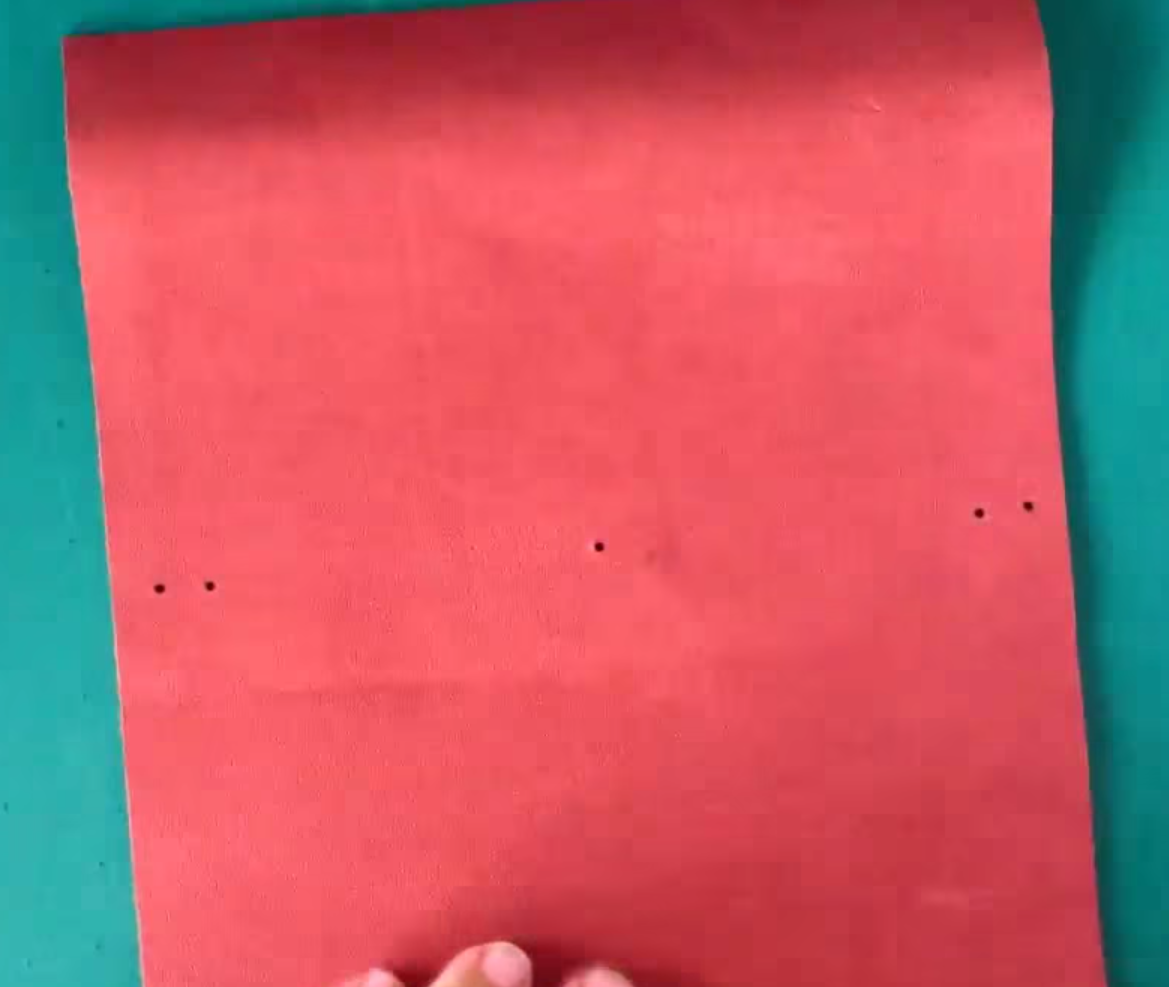
Cut a piece of leather to the size you want (use a sharp knife. I used 210mm x 150mm (~8.25”x6”) for my field notes sized book, adjust to fit your needs.
Find the center line and punch two holes at the top and two at the bottom, but skip the middle hole
(video 9:10-10:30) I used a fancy hole punch but you can also use a leather punch or simply an awl (or anything else sharp and pointy)
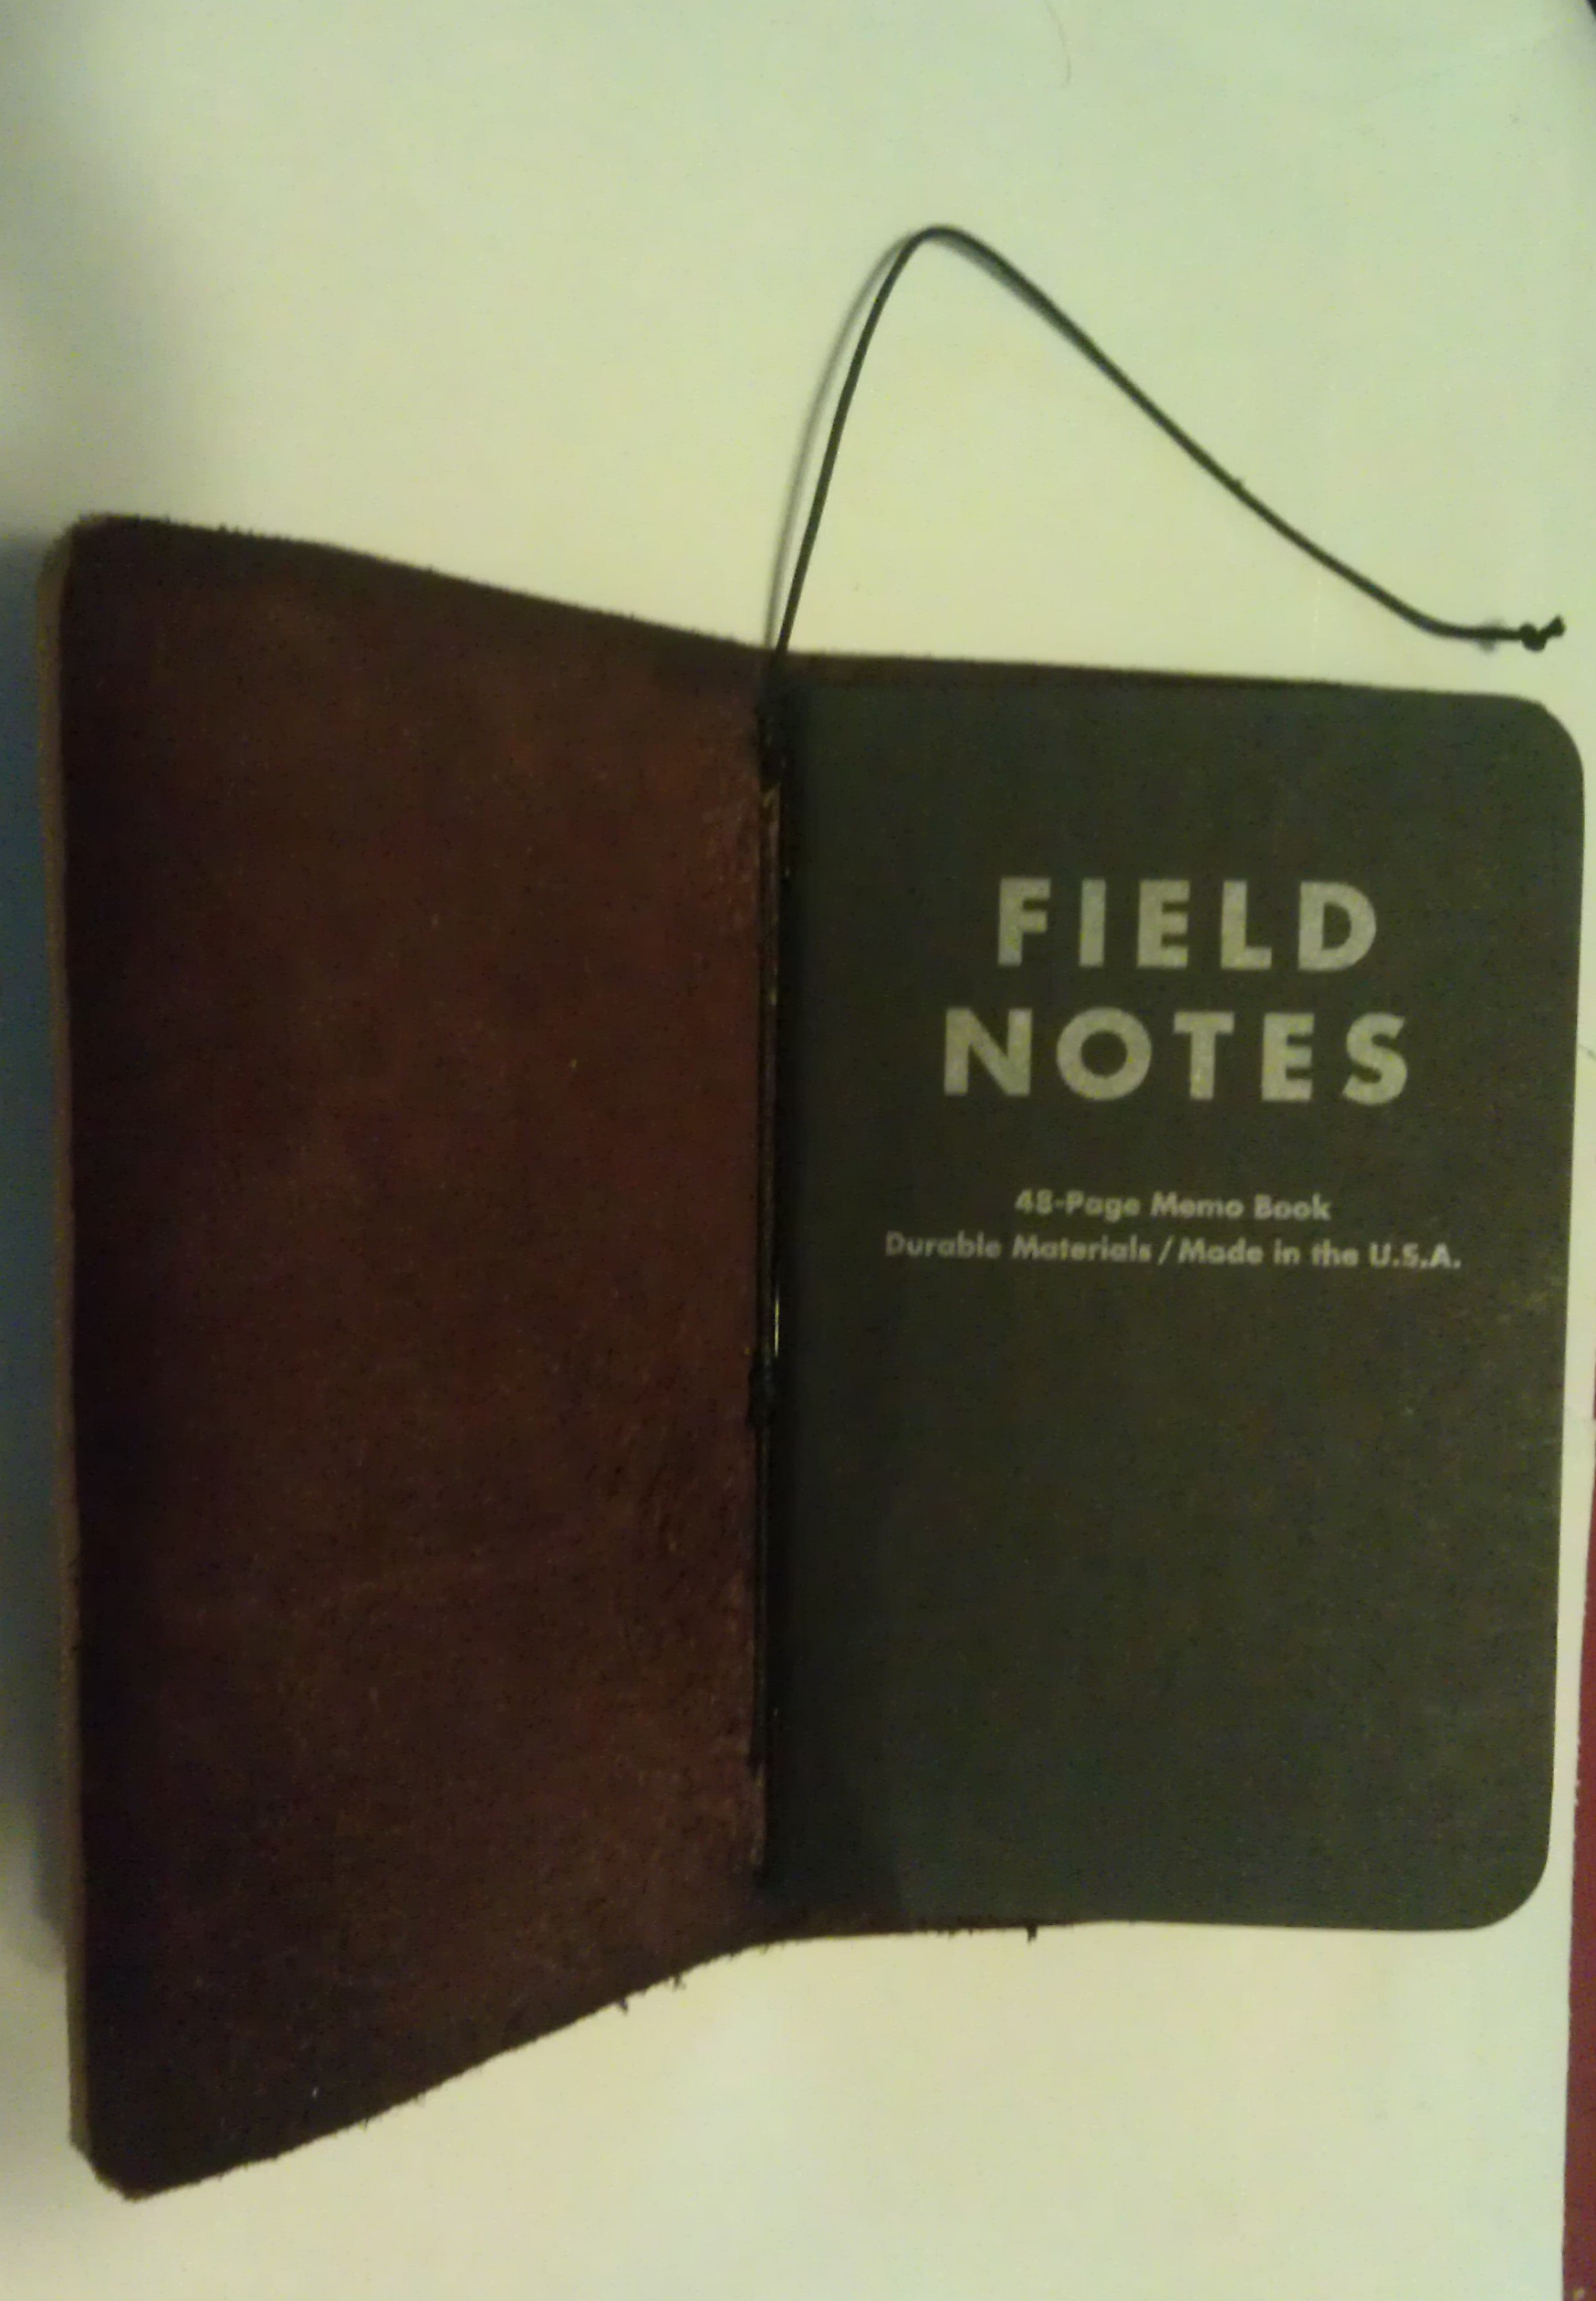
The guy in the video does exactly what I want at least as far as the Midori-esque stitching. (11:00-15:00) I didn’t bother with a needle or anything, I just shoved the rope through. Just tie your loose ends, and you have something to insert your book into.
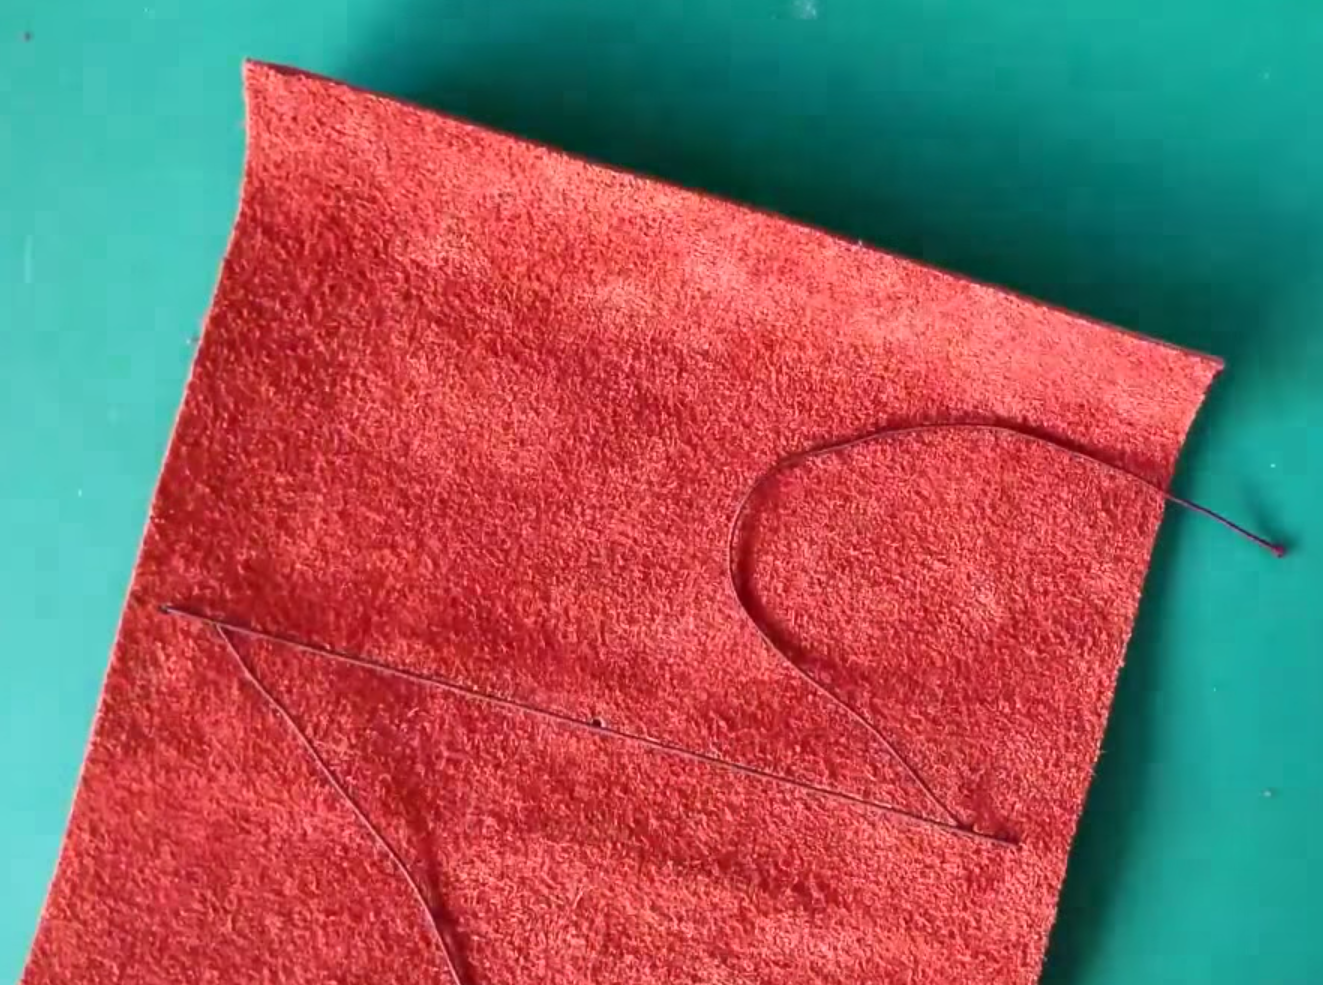
I ended up using entirely leather cord (like what they use on necklaces) instead of elastic cord, I tied it nice and tight (but not too tight, or the books wont fit) and it seems to work fine, and look cooler. I also copied his bookmark design (watch 20:00ish). Basically just tie more cord around the top two loops and the excess becomes a bookmark.

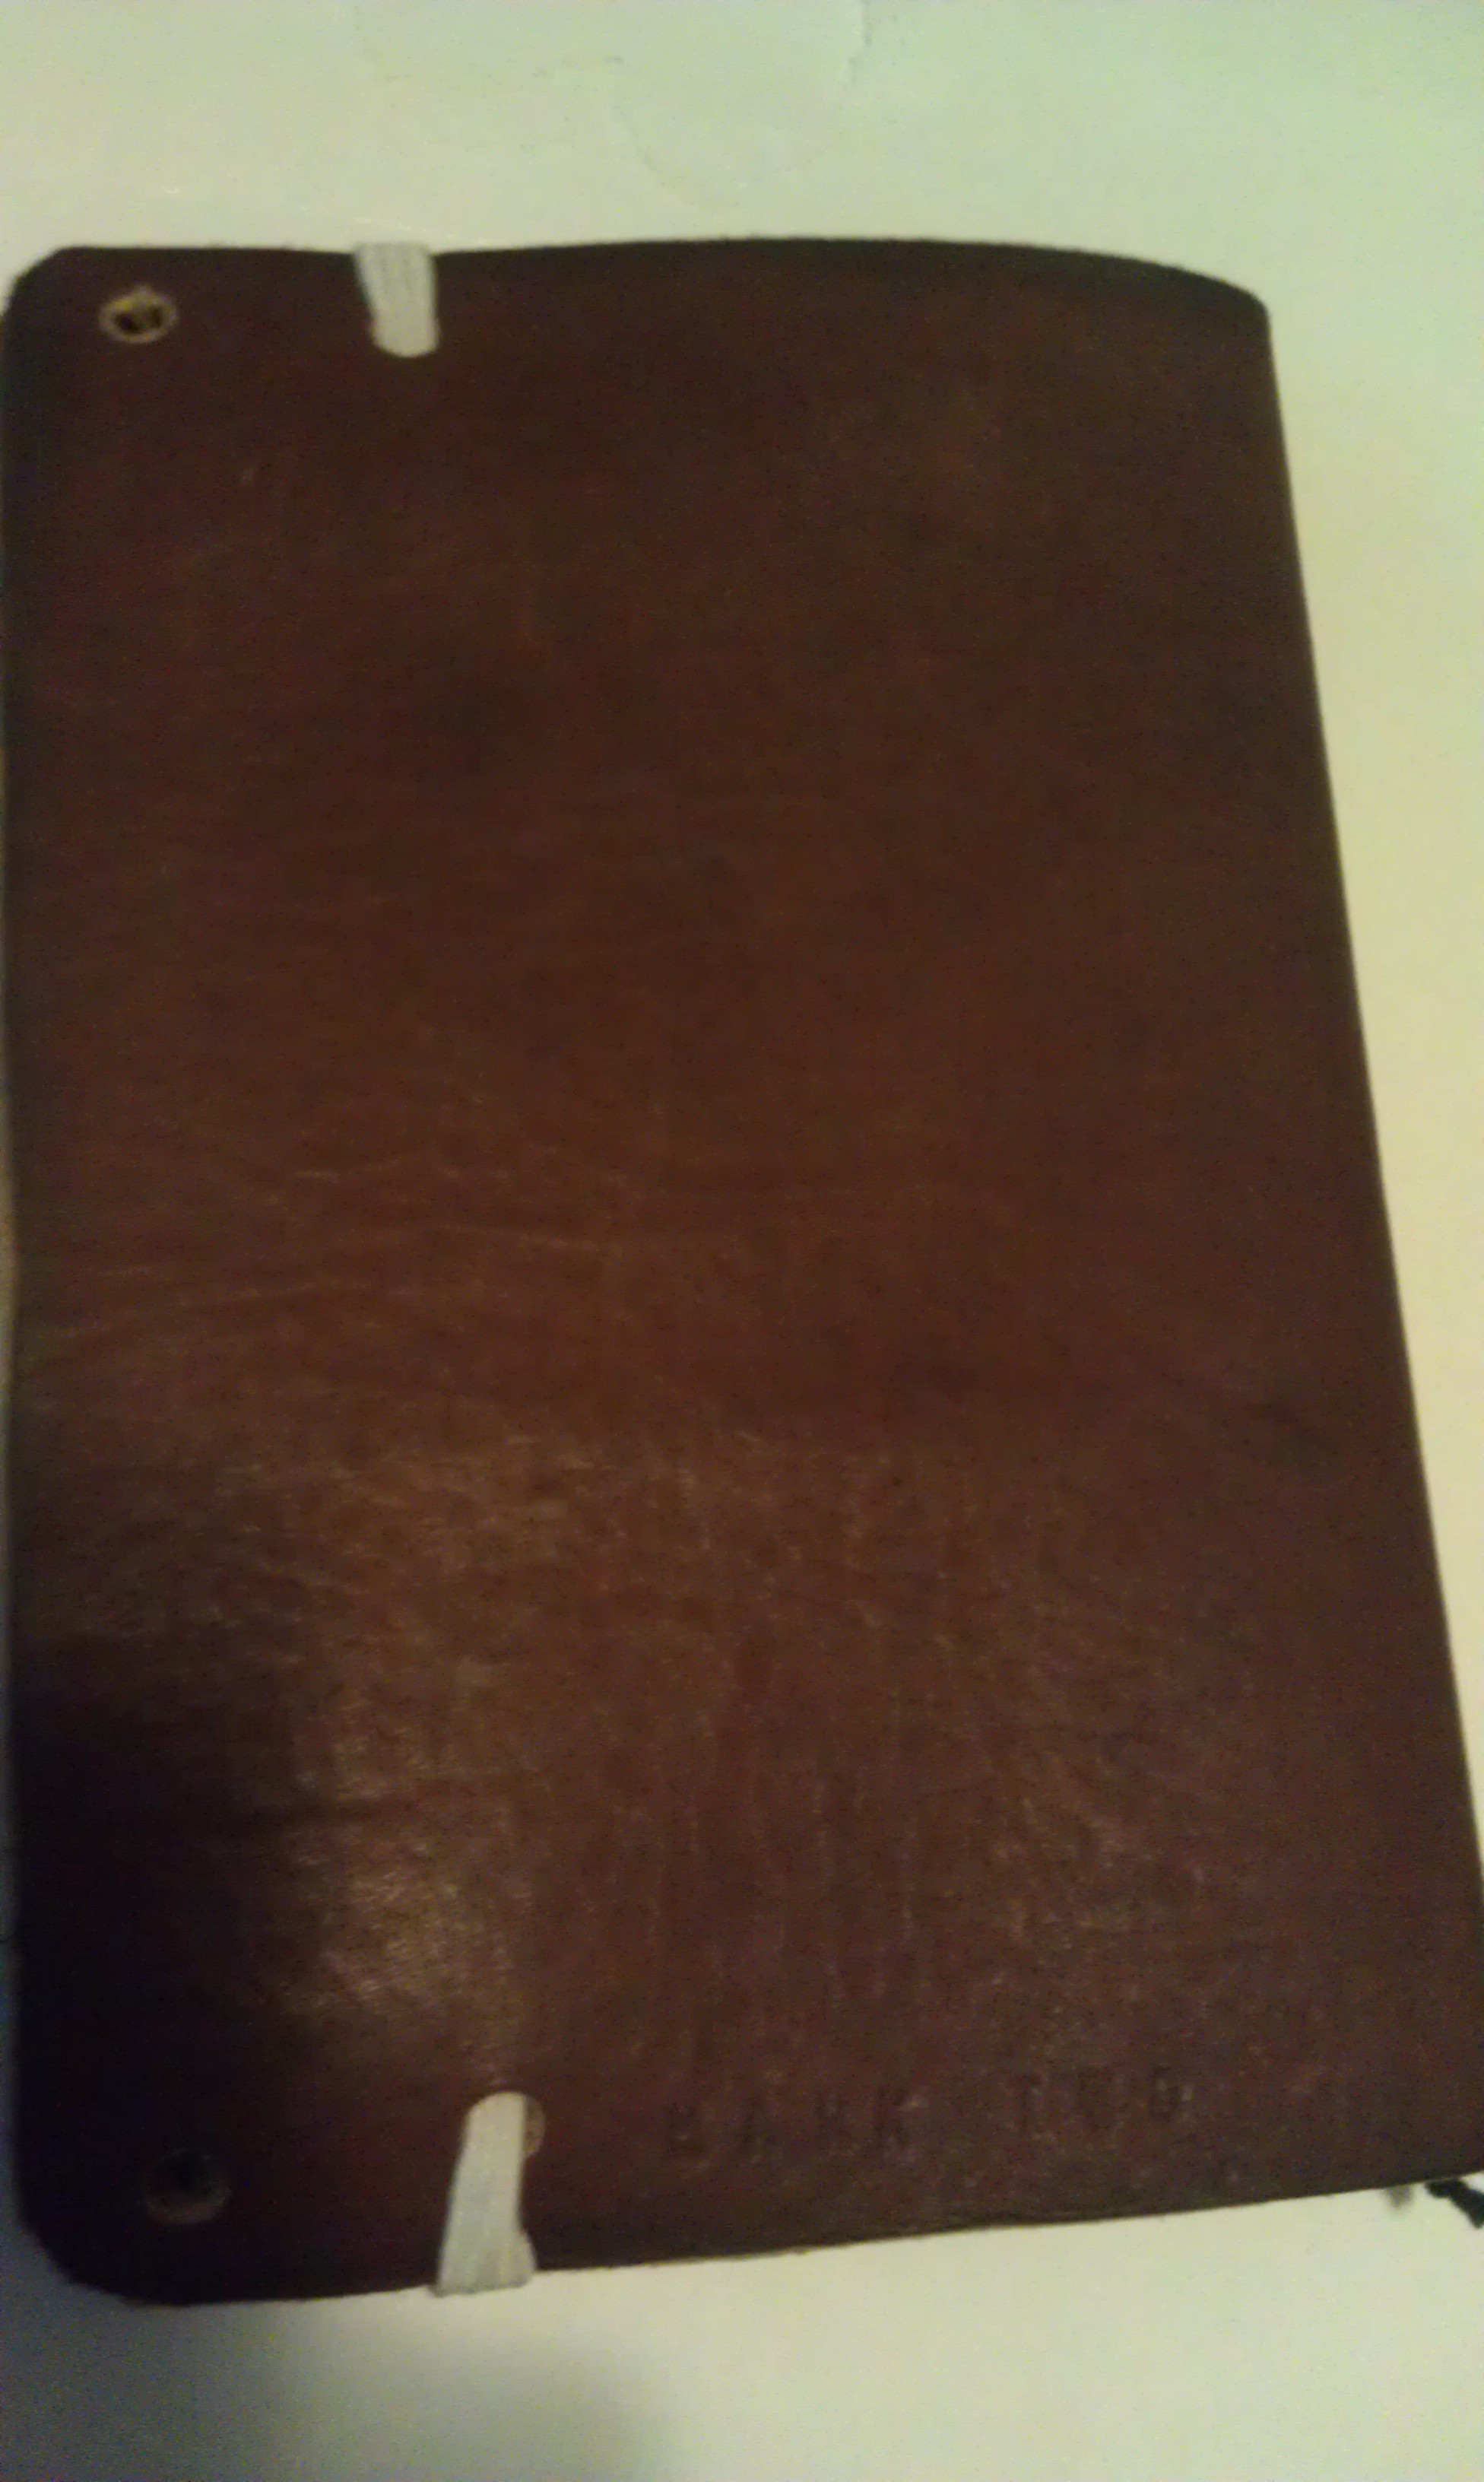
To round your corners, either cut around something round (metal washer)or just use some nail clippers (have to push pretty dang hard)
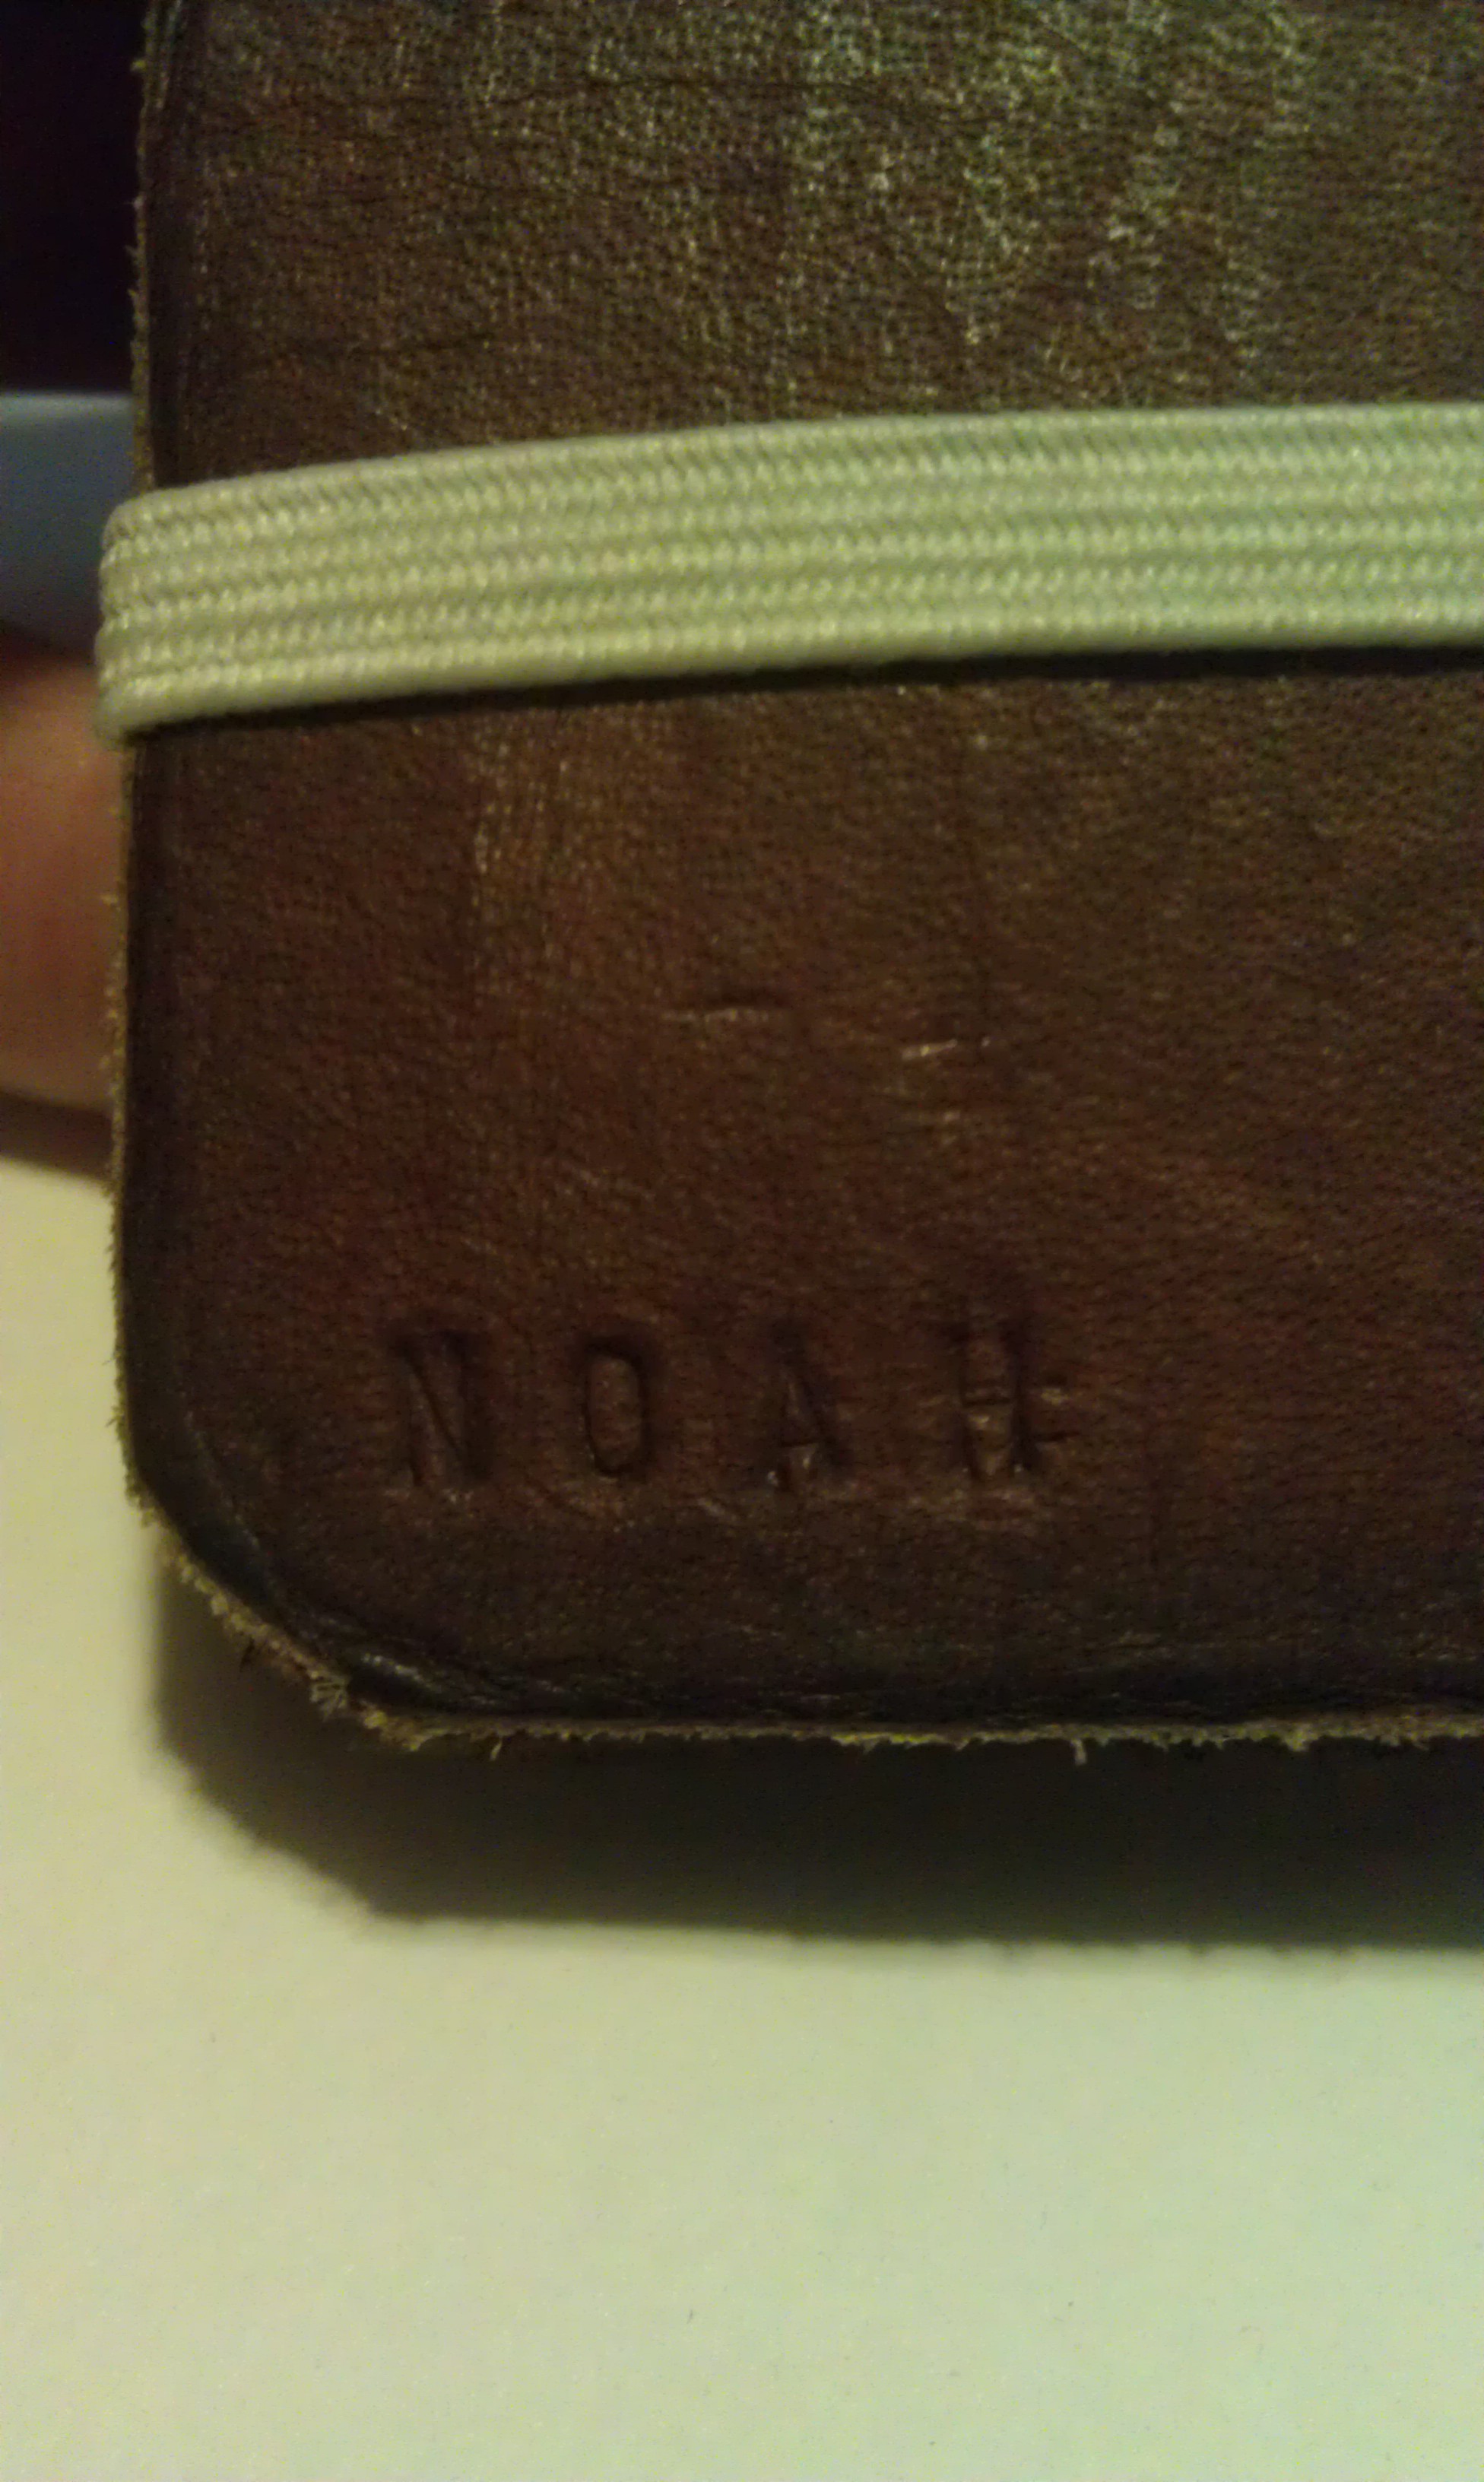
Figuring out how to attach the elastic was all me. I used this white elastic (instead of black) because it was the only color I had!
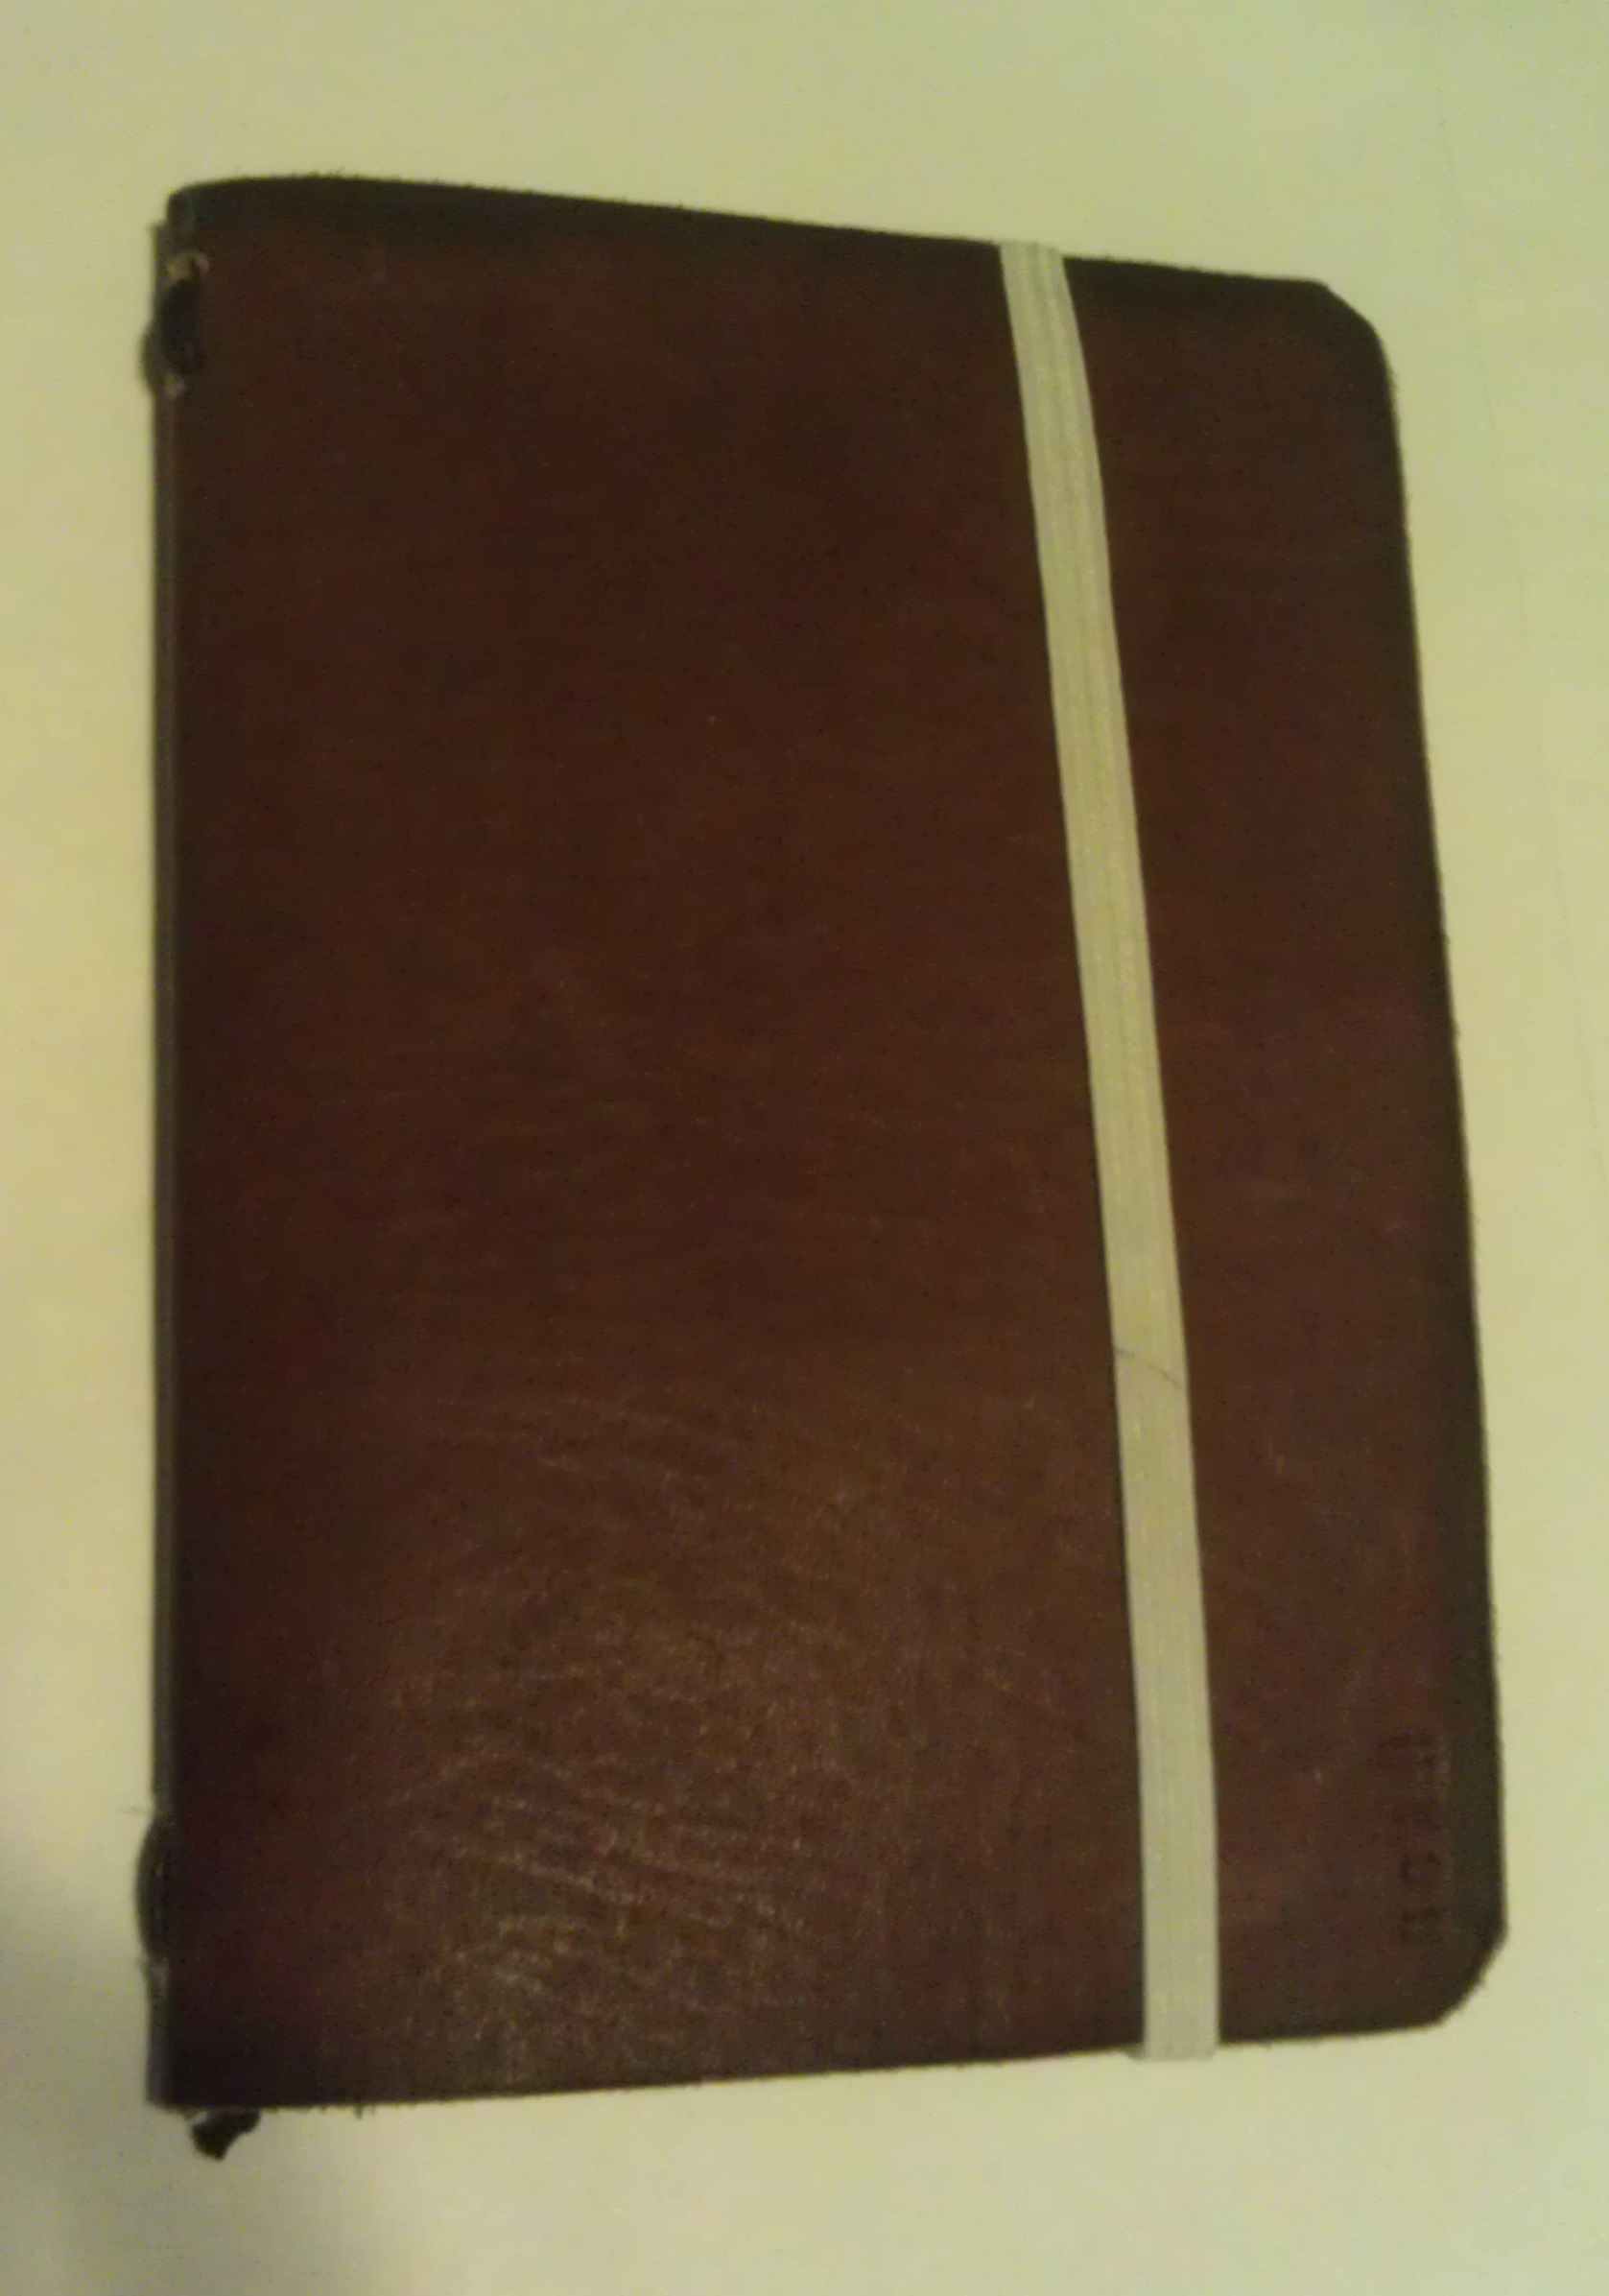
I punched two holes in the back cover and tied a simple loop in the elastic. Works like a charm. (Cell phone pics, sorry) My first holes were to close to the edge, and the elastic was sliding off the corners, I would recommend going about 30mm in

Some detailing with leather stamps to make it mine. I would recommend wiping down the leather with water first (holds the stamp better) and you should just do the whole book to keep the color the same.
Lastly I tried to do some edge finishing following this guide. It sure did help, but I had basically none of the proper tools. I will maybe re-visit this part if I get better tools.
I hope this helps someone with similar desires to me. End product is pretty cool.
11 Sep 2014
The only wallet you will ever need.
I have never been happy with store-bought wallets. Why? Maybe it’s because I’m way to hipster to be using some mainstream store bought billfold. Maybe it’s that I don’t like the idea of paying for something, that is supposed to hold money. What it really boils down to, is that I take pockets very seriously, and I know exactly which ones I want.
##There is a Better Way.
Enter the Duck Tape Wallet. Exactly what you want, nothing that you don’t. Personally this is my list
- Durable
- Fashionable (Obviously)
- Long unshielded pocket (for checks/bus card)
- Billfold style
- Clear ID pocket
- 2-3 Card holders
- RFID Blocking Interior
Your needs/wants may vary. But with a little creativity you should be able to accommodate whatever configuration your little heart desires. Duck Tape comes in all colors and patterns, and if you want more durability, you could even make it all from Gorilla Tape (I may try this).
Update: Warning! Gorilla Tape does not bend nearly as well as Duck tape. I do not recomend making anything more than one outside layer from it. It quickly adds bulk, and makes it difficult to keep folded.
##Blah, Blah, Blah. Show me How Already!
Okay fine! for starters, you will need to go grab your roll of duck tape (what do you mean you don’t have any? Disgrace.)

You are going to begin by deciding the dimensions of your wallet. Mine is roughly 4”x 3”, but pick a size you like. Take the width and double it, and ripple the height. Using strips of tape, make a sheet roughly 8”x9” (or adjusted to whatever dimensions you picked)

As you can see, I also decided to make the back of panel A out of Gorilla Tape (for extra strength) and to sandwich some Aluminum Foil in the B section for RFID blocking for my cards.
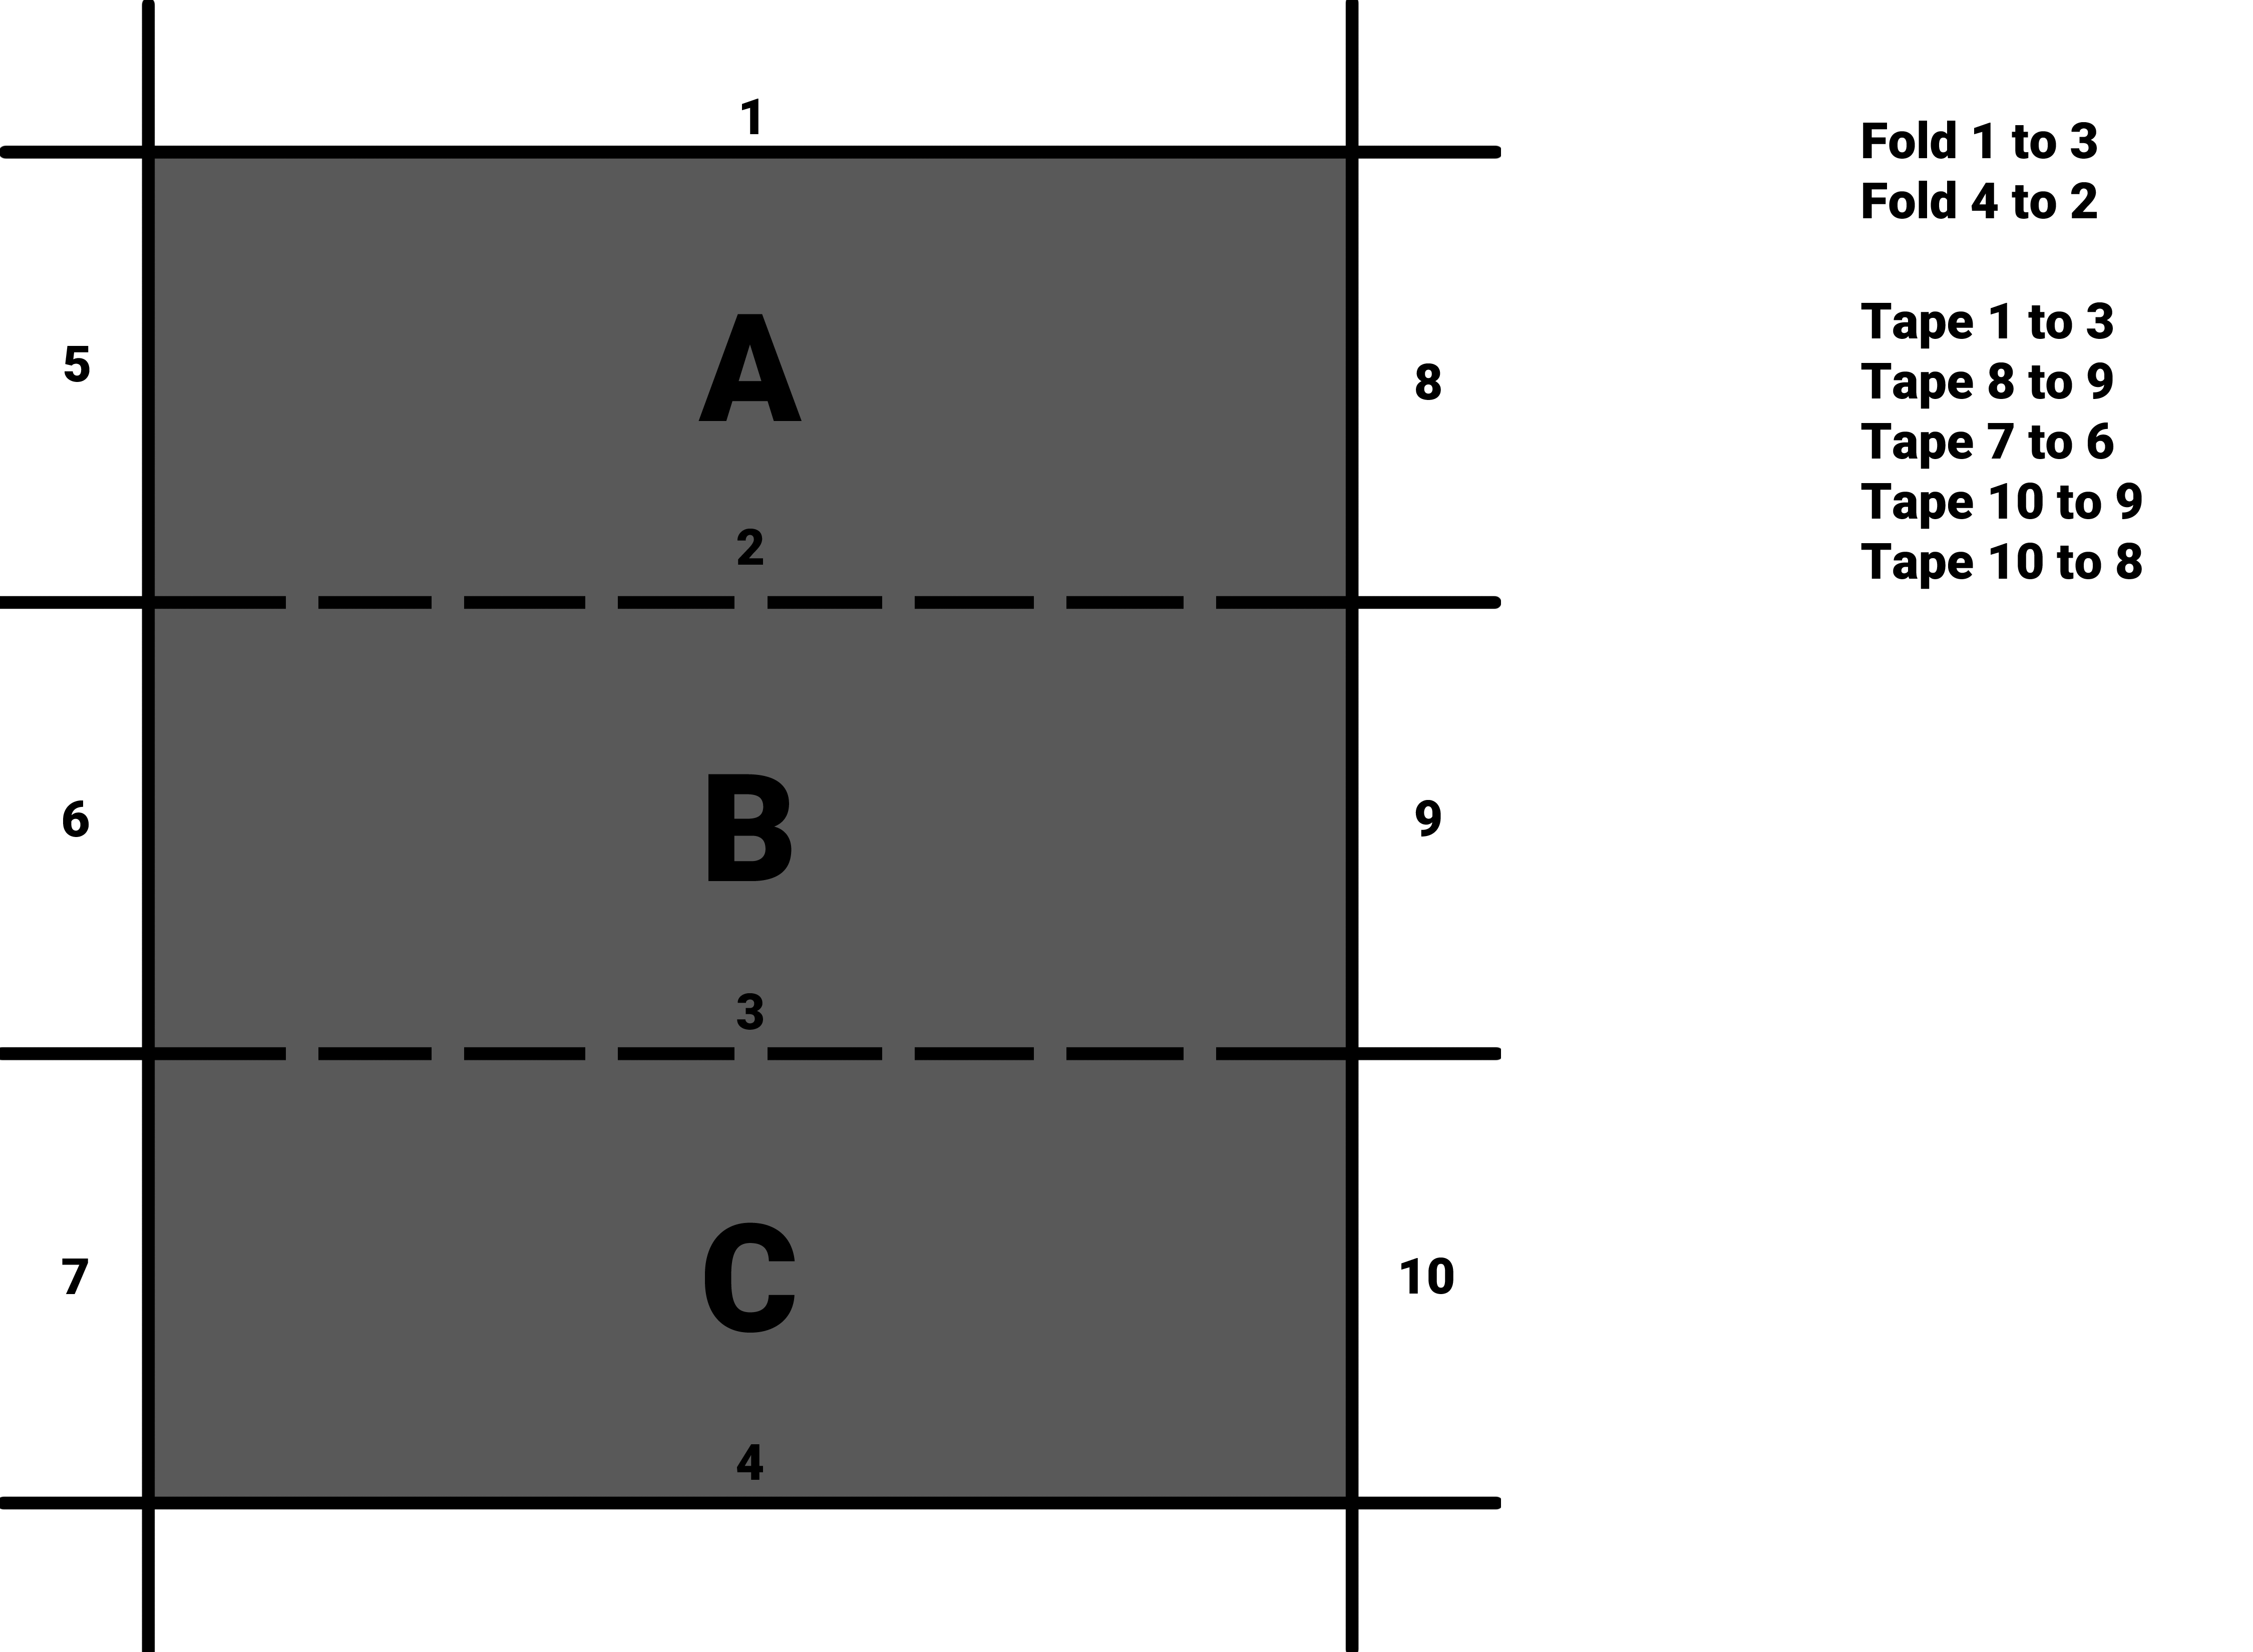
Then simply follow these instructions to get the basic shape. You should end up with a simple billfold style wallet with a check (or other long paper) pocket on the left.
Note: If you don’t want that extra side pocket, tape 5 to 6 right after you tape 8 to 9, or simply remove panel A (which may decrease durability).
At this point you should have a 8”x3” strip with the back of “C” facing up.

At this point you can add as many card pockets as you want. I have a piece of clear plastic (packing tape folded over on itself can be used) for my ID, and two card holders (Debit, and Bus Pass in my case). Feel free to experiment here, if you carry a lot of different cards, you may want to put more.
At the end of the day, you should have a stylish, functional, customized wallet. That cost you almost nothing but time (assuming you already had tape).
When I get around to constructing my new one I will post pictures of the actual process.
